Tear, paste, and create with newspaper!
As adults, we have to nurture and develop children’s talents. Many skills should be developed in this way. For example, creativity, fine motor skills, problem solving, critical thinking, communication, and empathy can be introduced. So, to develop such skills in children, we need to plan different activities. We have already brought you many skill development activities on our website. So, we have also brought you a similar skill development activity here. This activity develops children’s fine motor skills. So, are you ready to experience this activity?
This fine motor skills development activity is a tear-and-stick activity with a newspaper. This is a simple and very easy one. Also, it is suitable for children of any age. So, this activity not only develops fine motor skills. It also helps develop many other skills. So we’ll talk about that below. In addition, we provide the templates, instructions, and tips you need to do this activity for free on this blog page. Also, you can download them all as a PDF file.
Why Fine Motor Skills Matter:
Fine motor skills are the development of small muscle function in the hands and fingers. Therefore, children do many activities every day that help with this skill. For example, writing, coloring, gluing, cutting, folding clothes, kneading mud, buttoning, tying shoes, etc. Therefore, children have the opportunity to practice their fine motor skills by doing such fine activities. So, we can develop this skill in children by planning various activities at school. For that, we can involve children in activities like tearing, cutting, coloring, matching, pasting pictures, playing with clay, etc. This strengthens their muscles and improves their motor skills.
So this newspaper-tearing and pasting activity also includes movements that develop children’s fine motor skills. These include cutting, tearing, pasting, etc. We have also designed it to be a kid-friendly and fun activity.
What Is This Craft Activity?
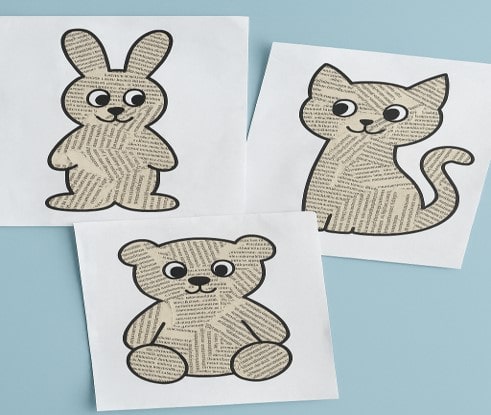
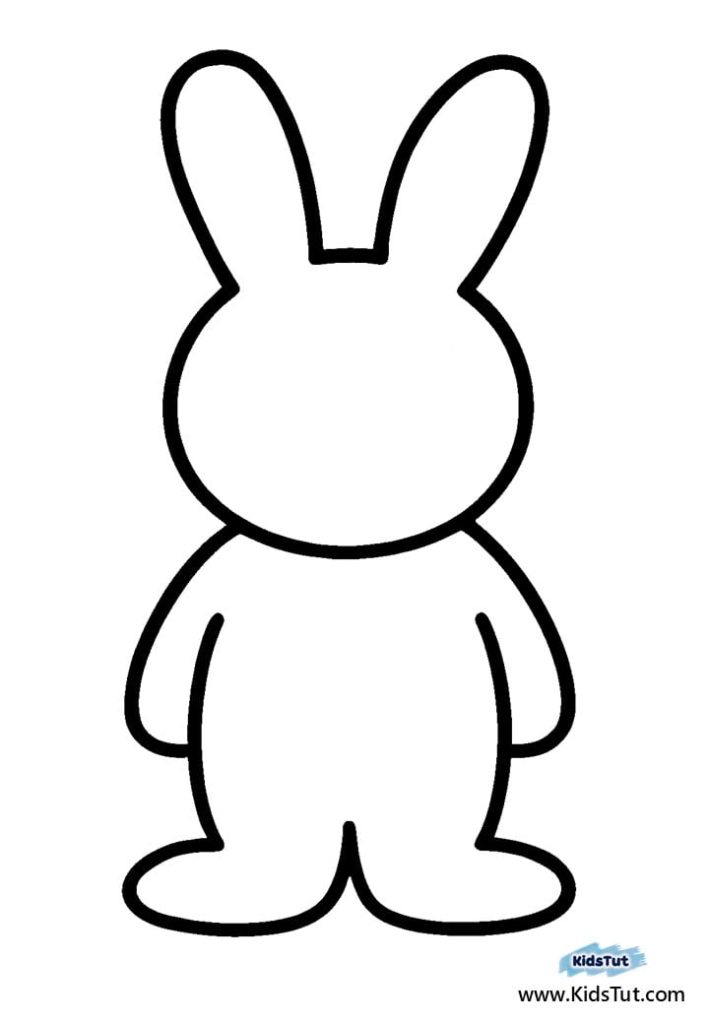
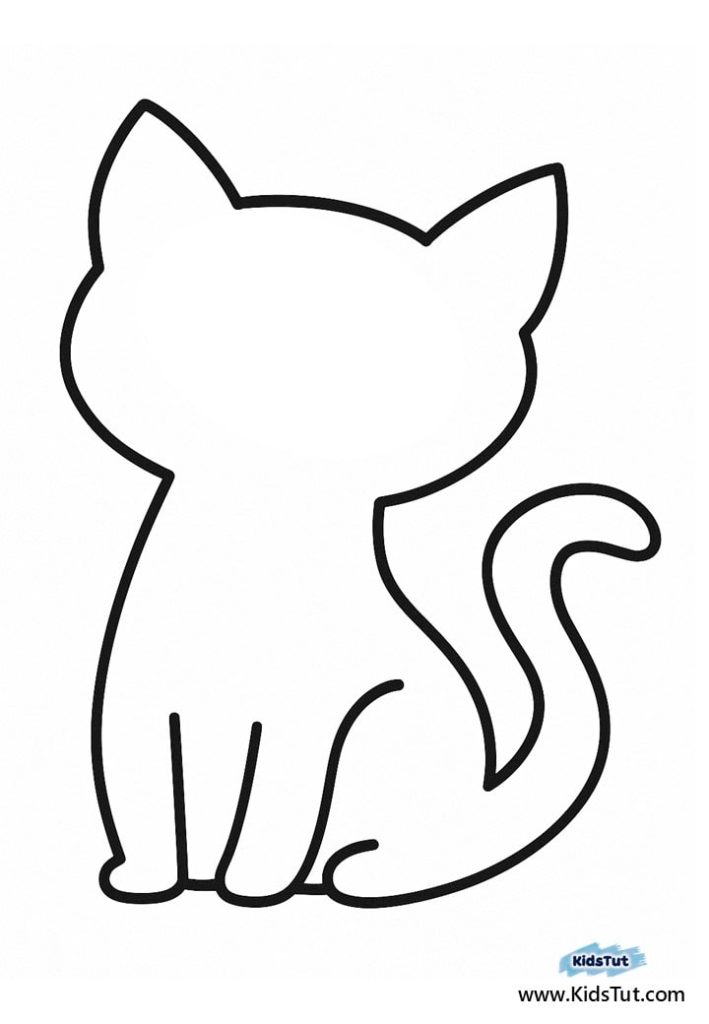
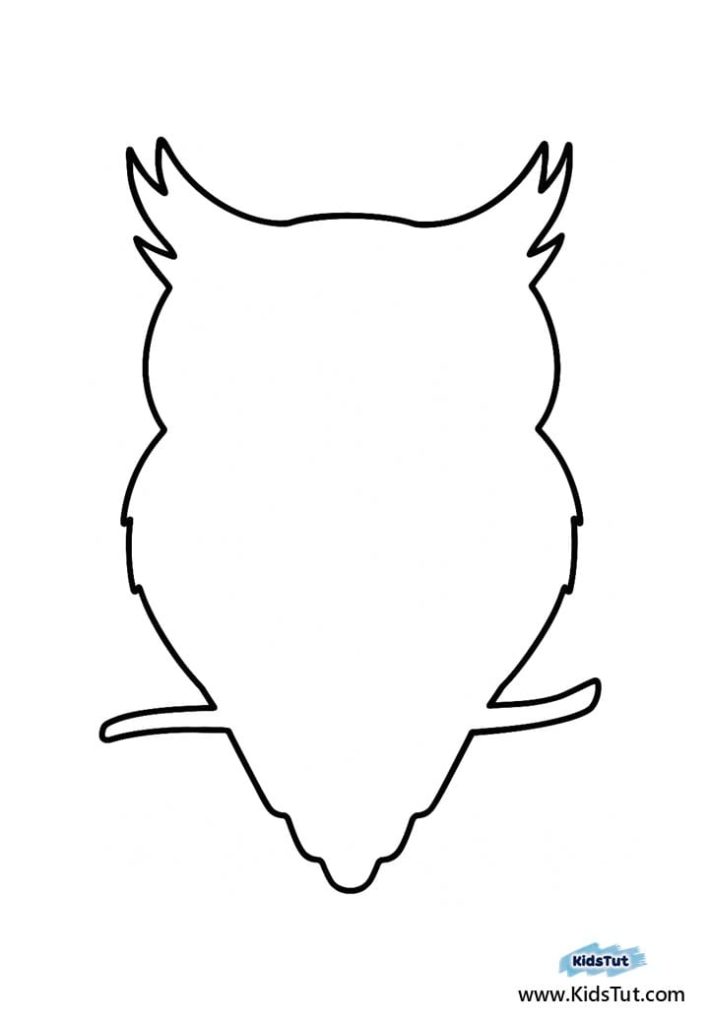
We have provided you with 7 templates to carry out this activity. In addition, each page has an outline image of an animal that children are interested in. Also, each page is A4 size, and in the middle, you can see a large black outline image of an animal.
So, here the children have to create a collage. For this, the children can use magazines, newspapers, or discarded printed paper. The child has to tear/cut the paper into small pieces and complete the image.
What benefits can children get from this activity?
Developing fine motor skills: Through this activity, children mainly develop fine motor skills. They do this through the subtle actions of tearing, cutting, and pasting.
Enhances creativity: This newspaper-tearing and pasting activity is a simple craft. Creating such crafts activates children’s creative thinking. When gluing torn paper to the image, children’s creative ability is important to finish it with a good finish.
Kid-friendly: This activity is designed to be suitable for kids. This is because the theme we have used for this activity is animals. It is a very attractive theme for kids. We have used images of animals that kids love the most. Furthermore, clear and large images have been used to make it easy for children to use.
Improve focus and patience: Children need to maintain good focus and patience while doing these activities. Only then will they be able to achieve a successful outcome for the creation.
Fun and engaging: This activity is fun for kids to do, as it is a simple and easy craft.
Animals Included in the Templates:
The theme of this fine motor skills activity is animals. So here are 7 animal picture templates that you can download from the PDF file below. The animals you will get to do the activity with are shown below.
[Download the FREE PDF here]: Download
01. Bunny Template
02. Cat Template
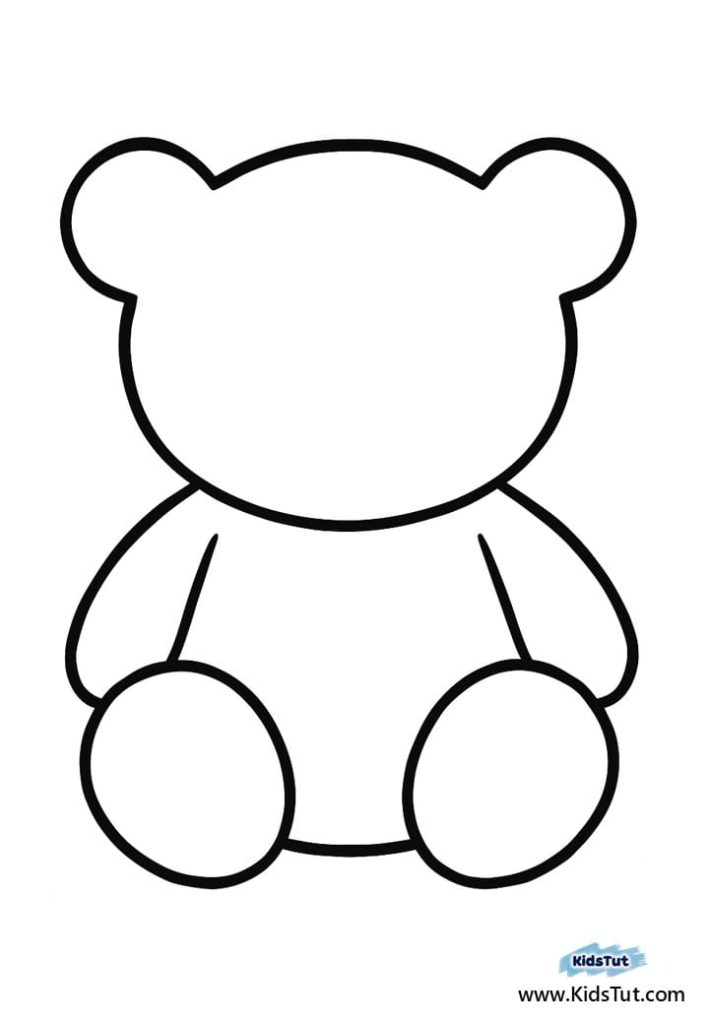
03. Bear Template
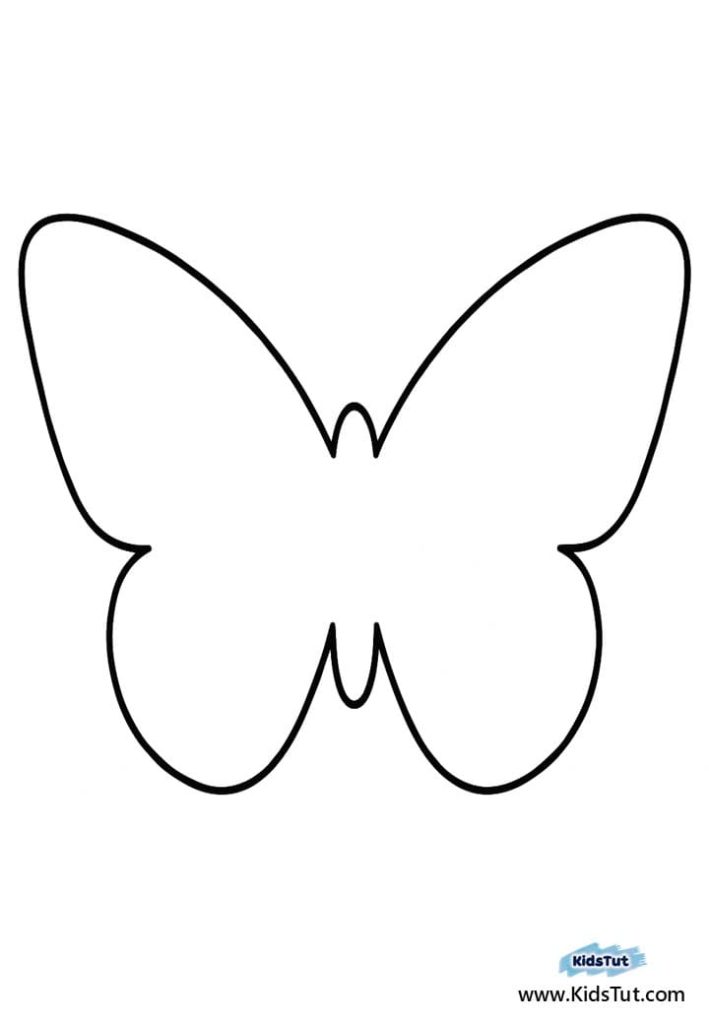
04. Butterfly Template
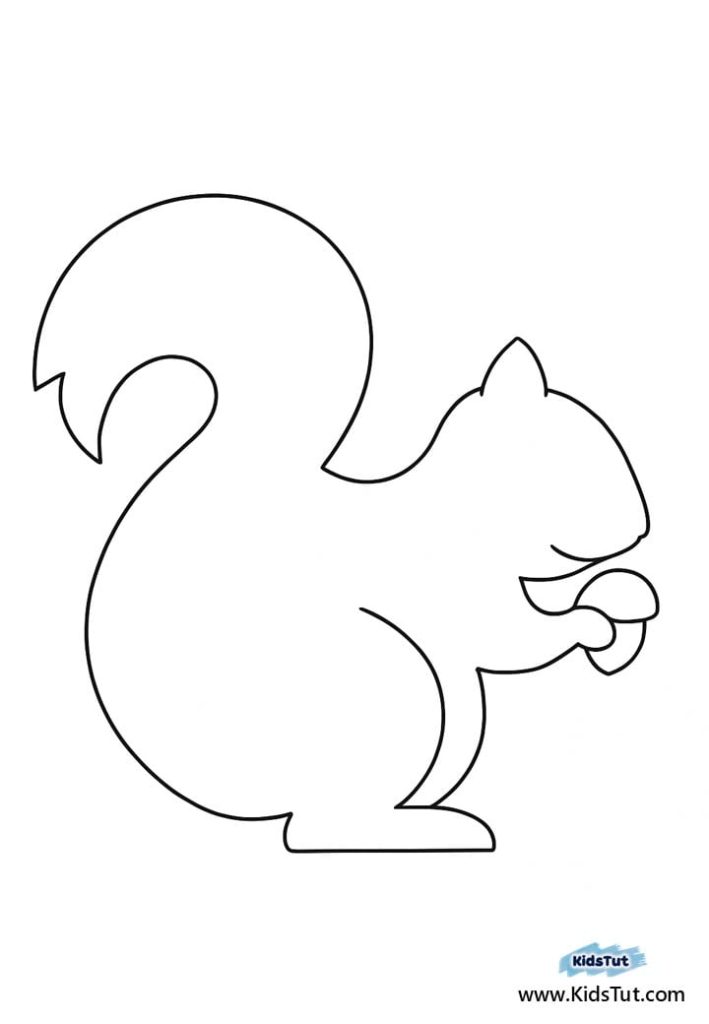
05. Squirrel Template
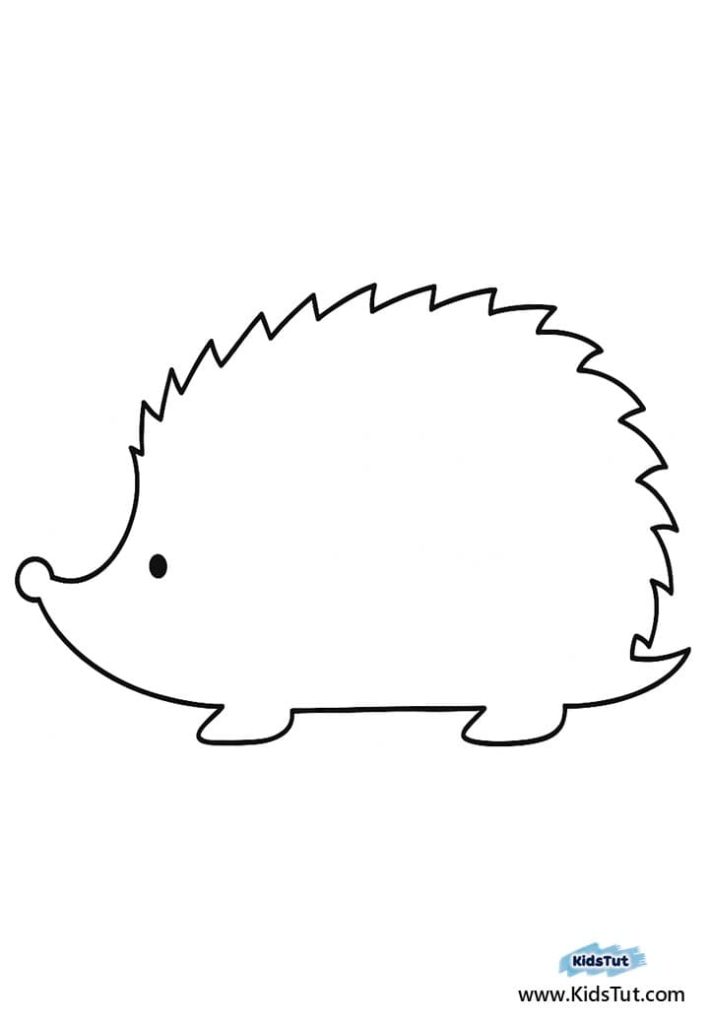
06. Hedgehog Template
07. Owl Template
Each animal image here is illustrated in a child-friendly cartoon style. And there is only an outline of the animal. So let’s see how to complete this activity.
What You’ll Need
You only need a few basic supplies to get started:
- Printed animal templates (free PDF provided below)
- Old newspapers or books (or any scrap paper)
- Glue stick or white glue
- Safety scissors (optional for older kids)
- Crayons or markers (optional for extra decorating)
- Paper Cutter (Method 2)
- Cardboard (Method 2)
Fine Motor Skills Activities: How to Do the Craft
There are two ways to do this activity. Choose the one you like, and that is easy for the kids to do. We have provided both methods for you below.
Method 1:
This method is easy for the youngest children. It is also the common collage style method used every day.
Step 1: Print the Templates
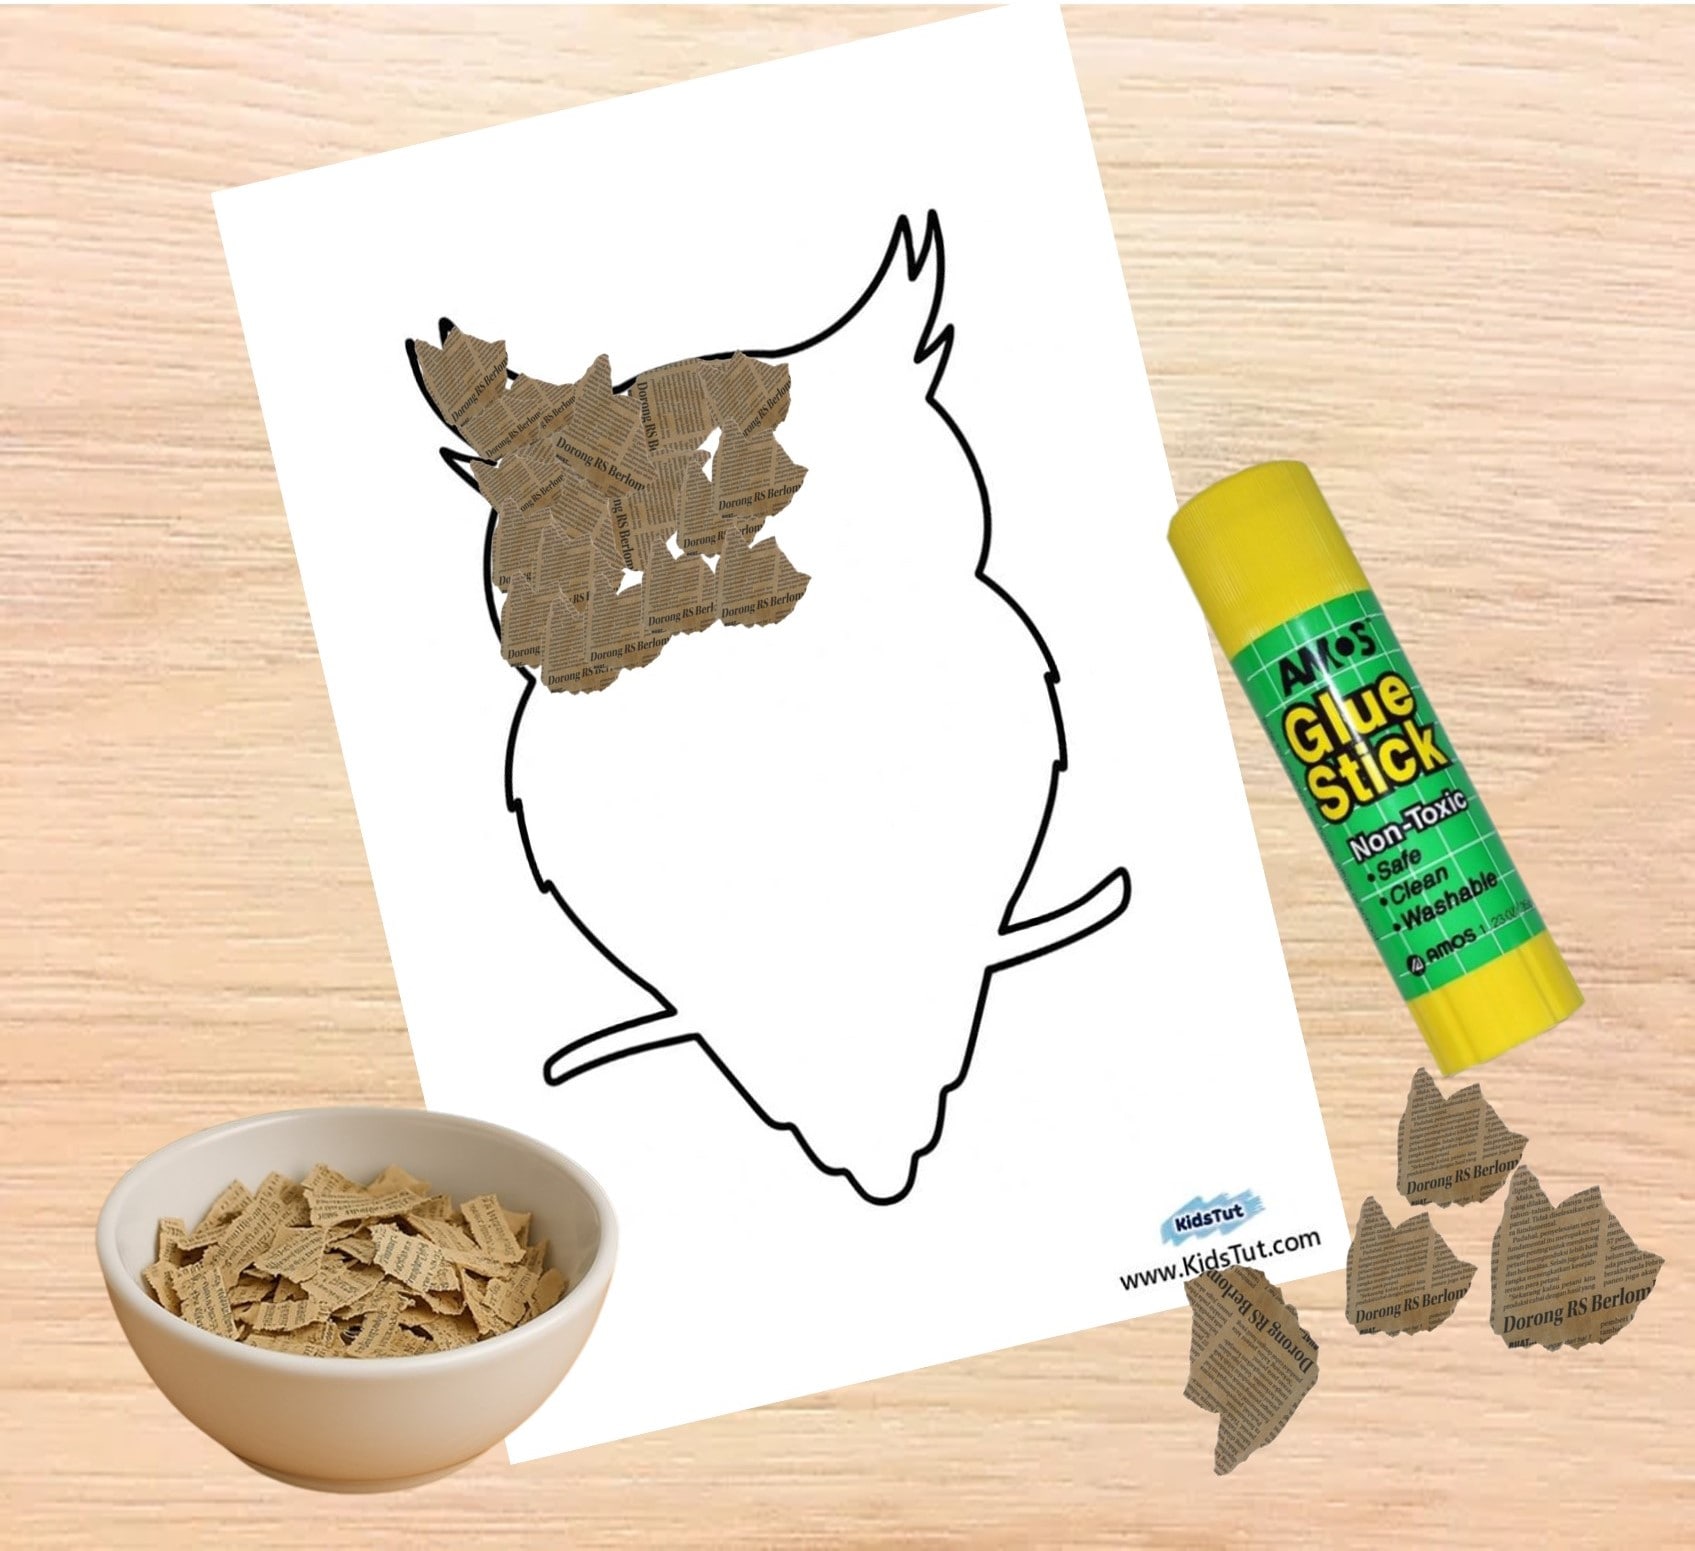
First, you can print the templates we have provided. Use white or light-colored printing paper for printing. If you need more strength and durability, you can also print on cardboard. Alternatively, you can glue the printed pages to a piece of cardboard.
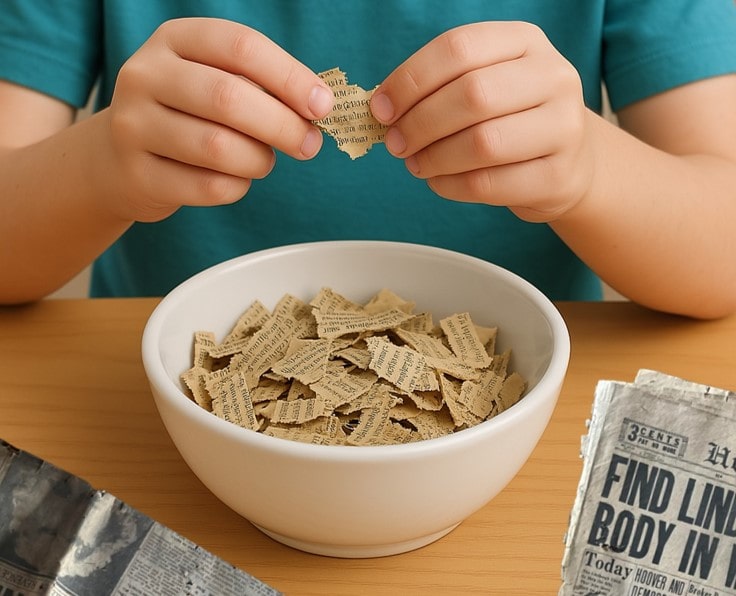
Step 2: Prepare Your Paper Pieces
Now give the children old newspapers, magazines, or book pages. Then instruct them to tear them into small pieces. Otherwise, you can use scissors to cut these pieces of paper. Let the kids do it easily. Then give them a small container to put the torn/cut pieces in so they don’t scatter.
Step 3: Apply Glue
Next, distribute the templates and glue that you printed among the children. Then, instruct them to apply glue to the animal outlines. It will be easier to apply the glue section by section. Otherwise, the glue may dry out quickly.
Step 4: Fill in the Animal
Now is the most fun part of the activity. Here, the children have to take the torn newspaper pieces one by one and stick them inside the animal outline. So, guide the children to stick the pieces of paper together without going outside the dark outline and without leaving any gaps between the pieces. This way, they will be able to achieve a beautiful design.
Step 5: Glue the googly eyes and draw the nose and mouth:
Now we are ready to give your newspaper animal craft a finished and lifelike look. You can also draw and cut out the eyes and mouth from the paper. otherwisestick stickers on the eyes and mouths, or stick on googly eyes.

Step 6: Optional Decorations
Once your child finishes gluing, they can add extra decorations with crayons, markers, or stickers.
Method 2:
This is different from a regular collage. It will give your creation a new experience and beauty.
Step 1: Print the Templates
First, print the templates we have provided. It is best to use white printing paper when printing. If possible, you can print these templates directly onto cardboard. Or, follow the second step below.
Step 2: Glue them onto the cardboard.
In this method, our template needs to be strong and durable. So, stick your printed templates on cardboard. Then let it dry.
Step 3: Cut out the middle of the outline of the templates.
Now, using a paper cutter, carefully cut out the middle of the outline of the templates. Here, the middle part needs to be cut out without damaging the solid black outline. This will be difficult for young children to do. Therefore, it is best to have an adult do it.
Step 2: Prepare Your Paper Pieces
Next, give the children old newspapers, magazines, or book pages. Then have them tear them up or cut them into small pieces. Then, collect the pieces in a small bowl.
Step 3: Apply Glue and Fill the Animal shape
Now, take the cut template. Turn it over to the back side. Then, apply glue around the outline on the back side. Now take the torn pieces of paper one by one and stick them on it. Then, slowly apply glue to the pieces of paper, sticking them one by one. Paste it in this way so that there are no gaps. Complete the middle part of the outline in this way.
Now let it dry. Then you can turn the front side over. It will be a beautiful design.
Step 5: Display your Craft
Finally, you can display your creations on a wall, craft board, door, or refrigerator. Or you can hang them from the ceiling as a macrame or along the wall as a garland using a string.
Fine Motor Skills Activities: Tips for Success
- Encourage kids to work slowly and take their time gluing.
- Make it a group activity by setting up a “craft table” for multiple kids.
- Laminate the finished animals to turn them into placemats or wall art.
- Talk about each animal while crafting to build language skills, too!