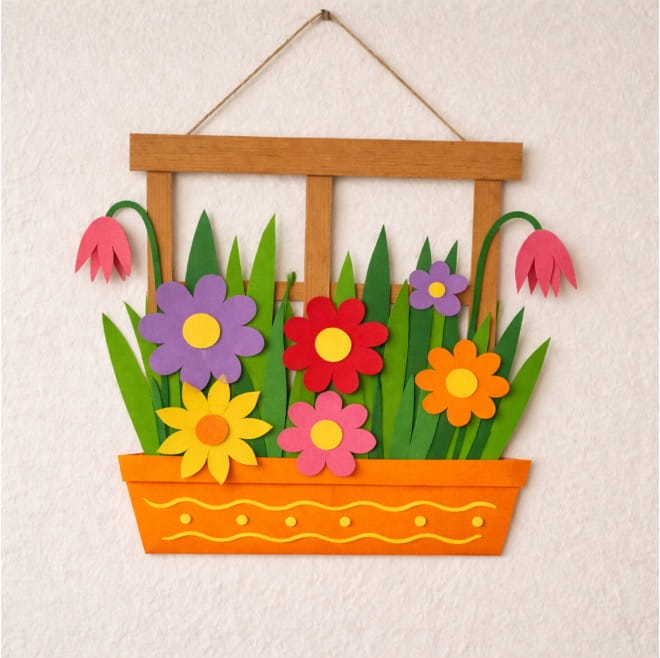
Springtime is perfect for bright paper flowers! This fun craft lets kids make their own flower pot decoration with colorful stems, leaves, and blossoms. It’s easy, cheerful, and looks beautiful hanging on the wall.
What You Need
- Printed window template (brown or white paper)
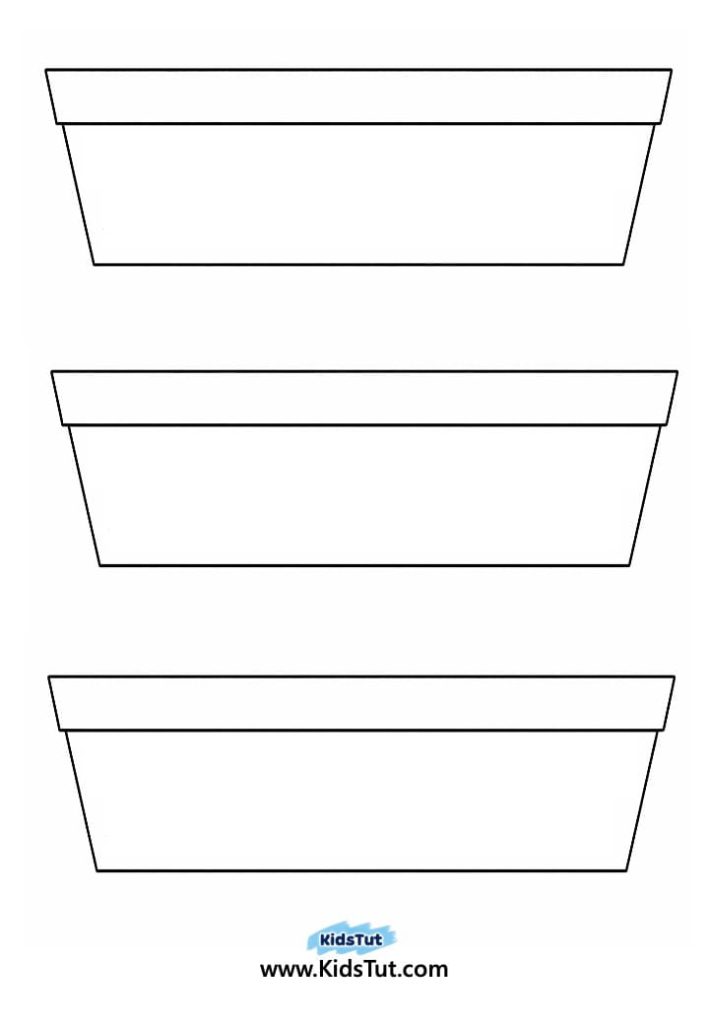
- Printed flower pot template (colored or white paper)
- Grass template (full strip or separate leaves)
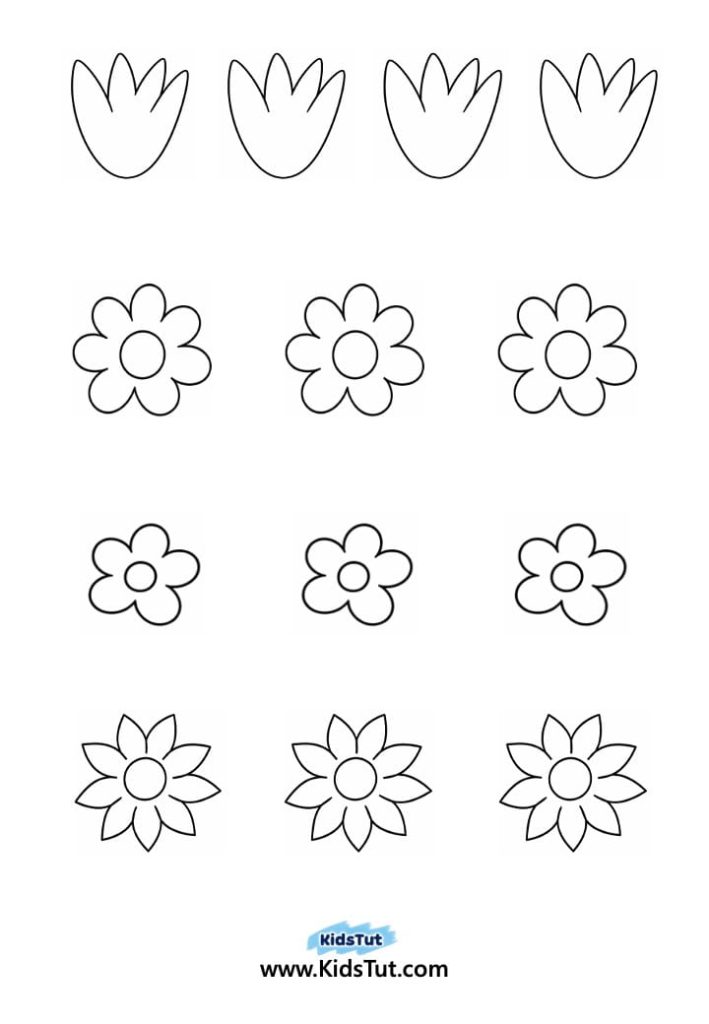
- Flower templates (snowdrops + other flowers)
- Crayons or markers
- Scissors
- Glue or tape
- Cardboard (optional for strength)
- Yarn or string (for hanging)
How to Make
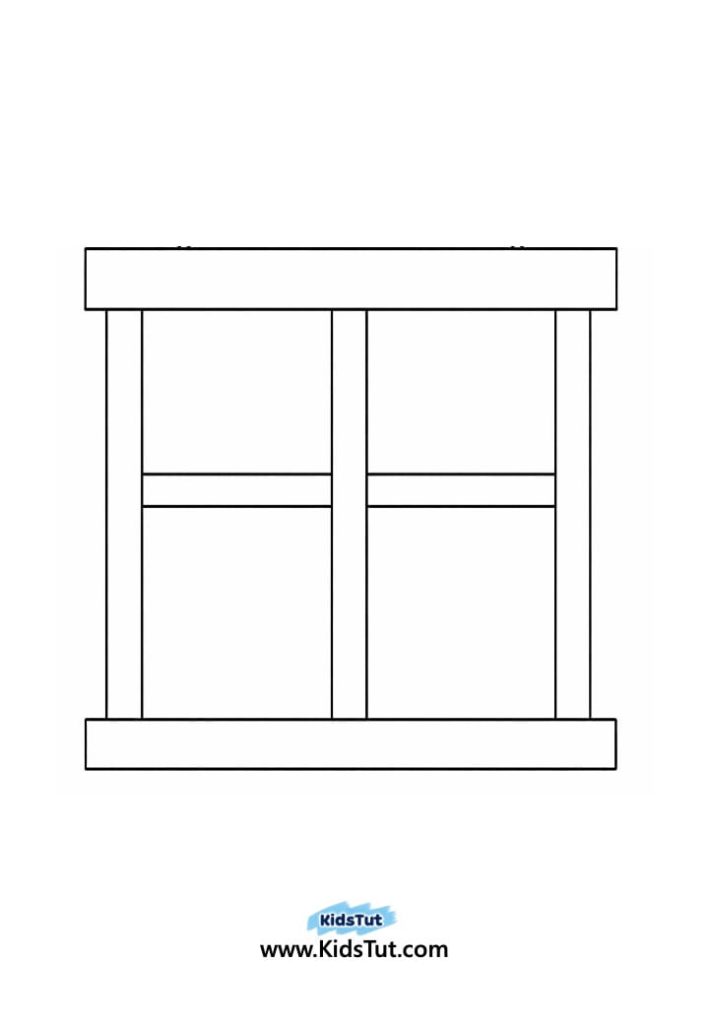
- Make the window
- Print the window on brown paper, or on white paper and color it.
- Cut out the outline and cross strips, and remove the middle 4 squares to form the window.
- Prepare the pot
- Print the pot template.
- Draw patterns inside or print on colored paper.
- Color and cut it out.
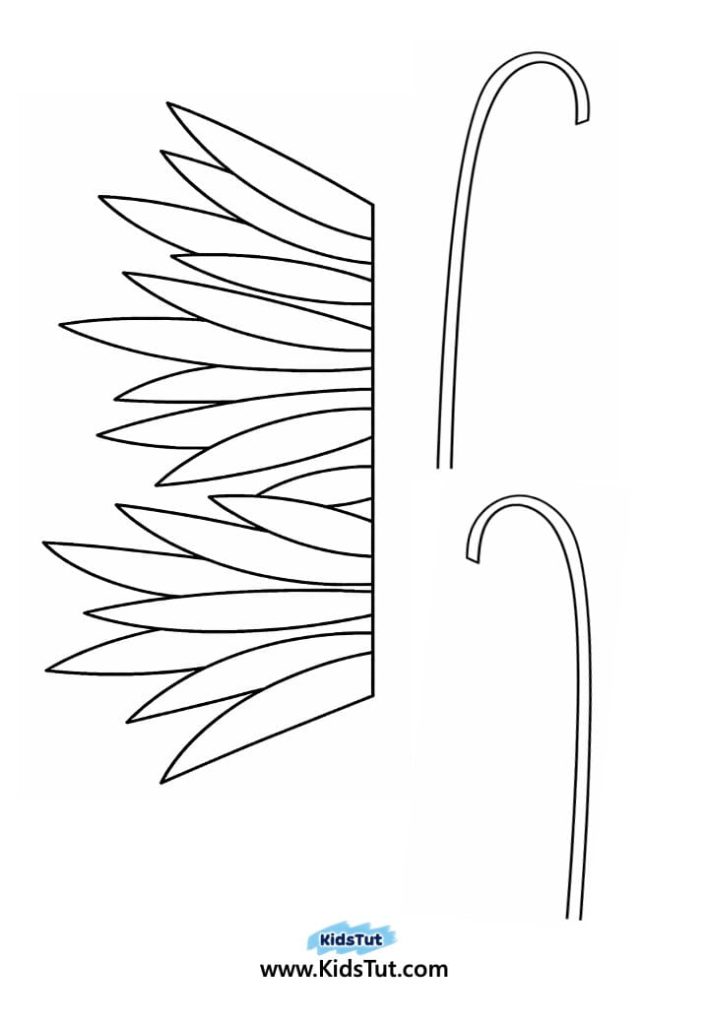
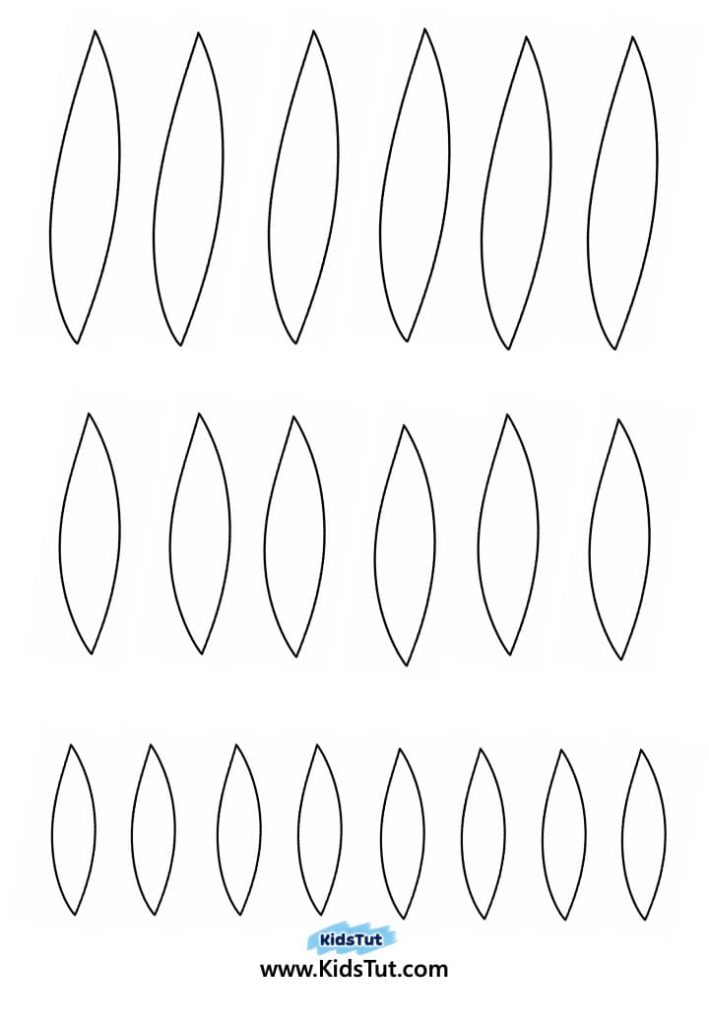
- Add the grass
- Print the grass (either as a full strip or as separate leaves).
- Color if printed on white paper.
- Turn the pot to the back side and paste the grass starting from the middle, not the bottom.
- Attach stems
- Paste curved flower stems on both sides of the grass.
- Add flowers
- Print, color, and cut out flowers.
- Paste them onto the grass.
- Add two snowdrop flowers at the ends of the curved stems.
- Let it dry.
- Finish the craft
- Paste the pot onto the window.
- Attach yarn or string at the top to hang.
- For extra strength, paste the whole craft onto cardboard.
Templates:


Click here to get the FREE PDF template: Download ( Printable )