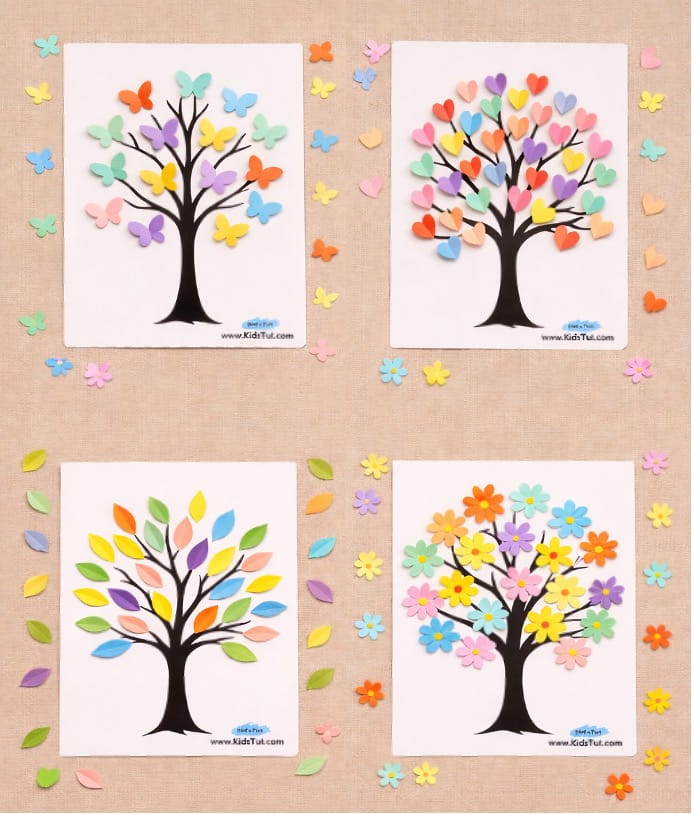
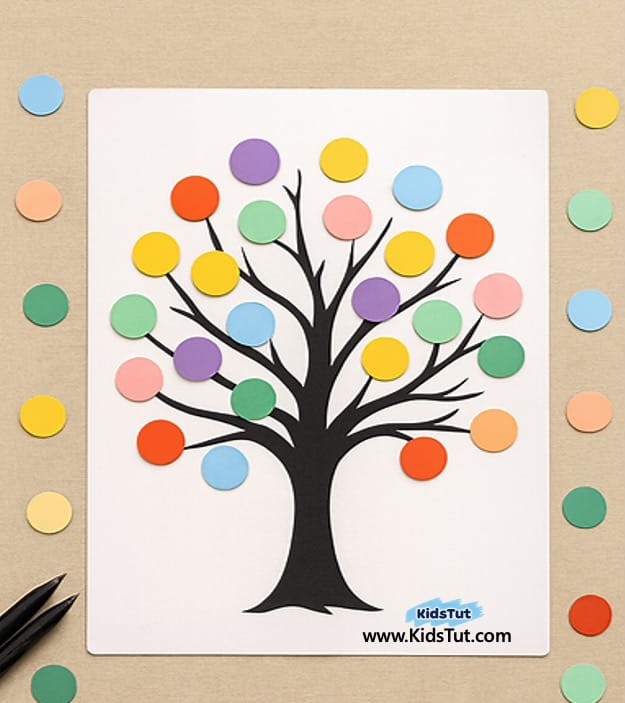
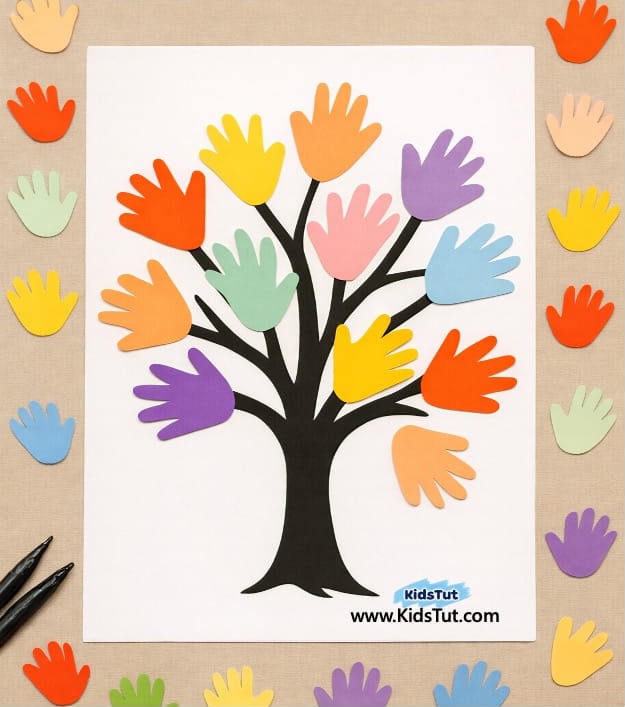
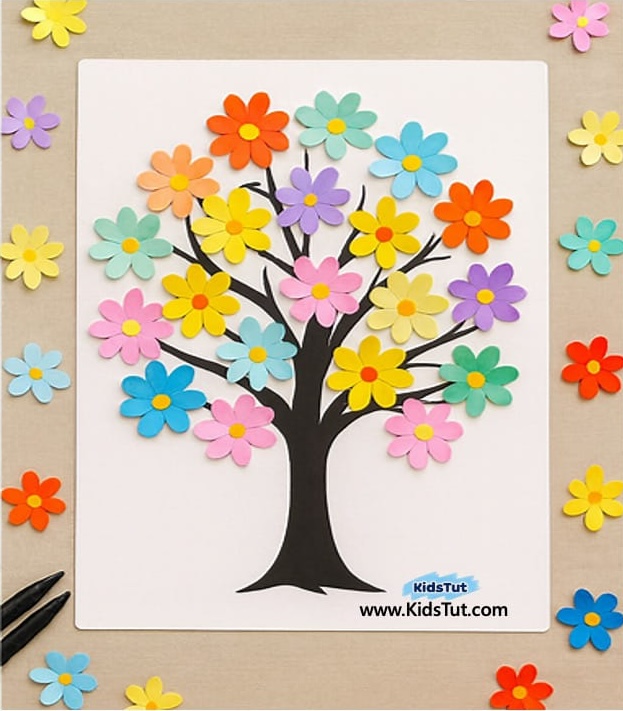
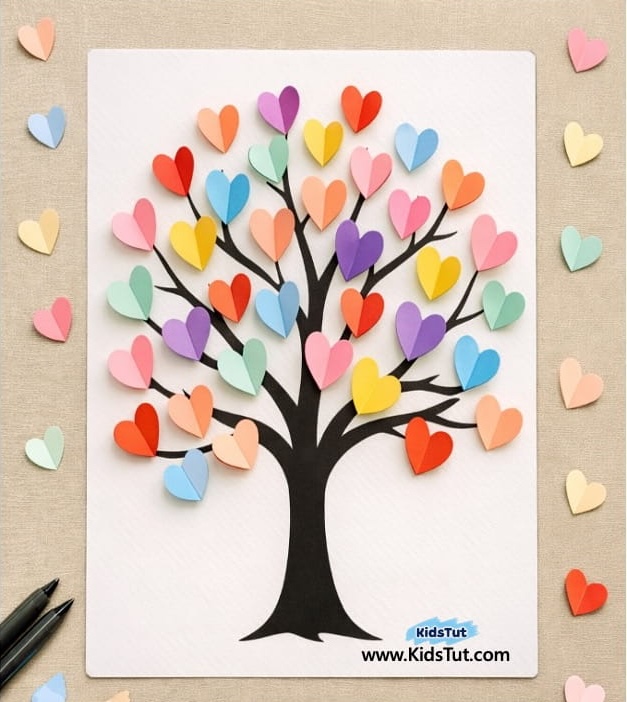
Paper cutout tree crafts are a fun way for children to explore shapes, colors, and creativity. With easy templates and bright cutouts like hearts, butterflies, leaves, and flowers, kids can decorate trees in their own unique style. This activity is perfect for home or the classroom, helping little ones practice fine motor skills while making cheerful art to display.
What You Need
- Tree template printed on white paper
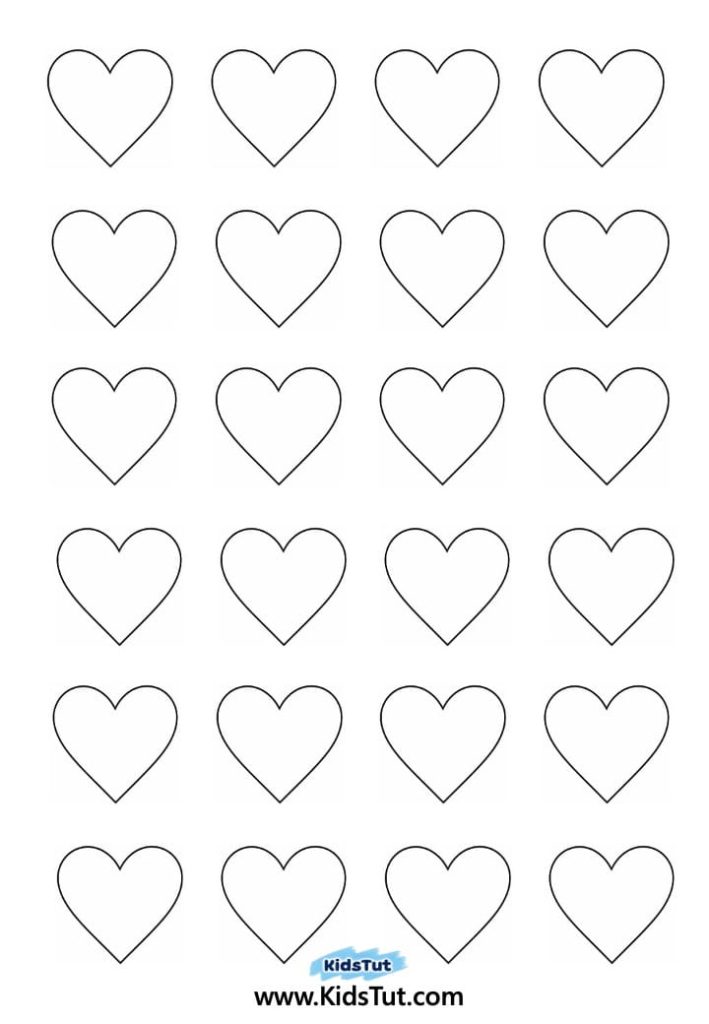
- Colored papers (for shapes like hearts, butterflies, leaves, or flowers)
- Crayons or markers (optional for coloring shapes)
- Glue stick
- Safety scissors
How to Make Paper Cutout Tree Crafts
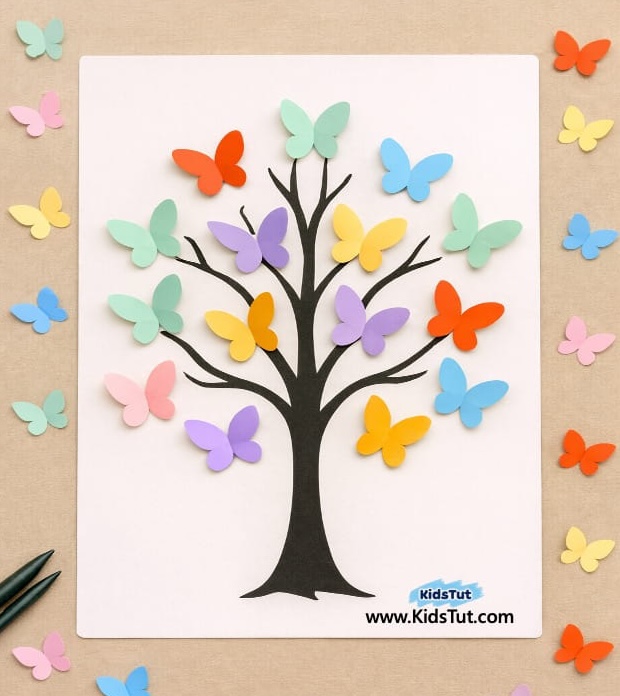
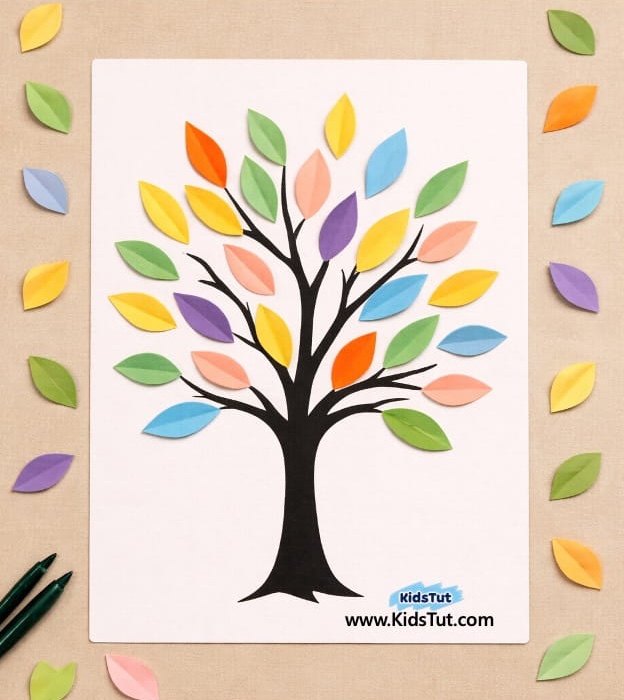
Step 1: Choose your tree and shape: Pick one tree template and one shape you want (hearts, butterflies, leaves, or flowers).
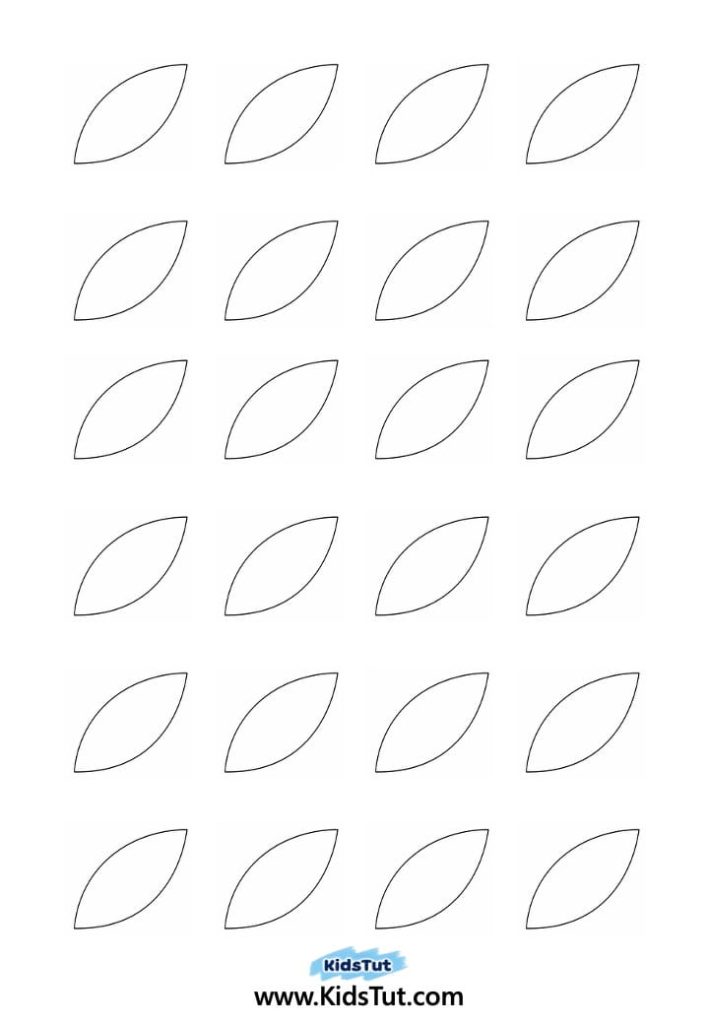
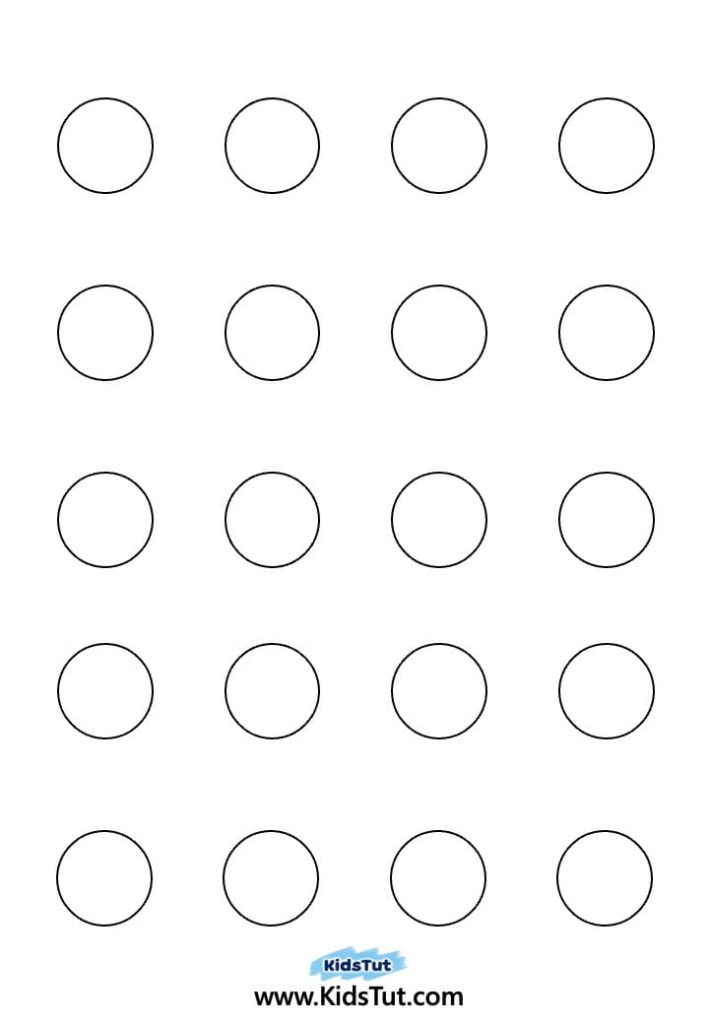
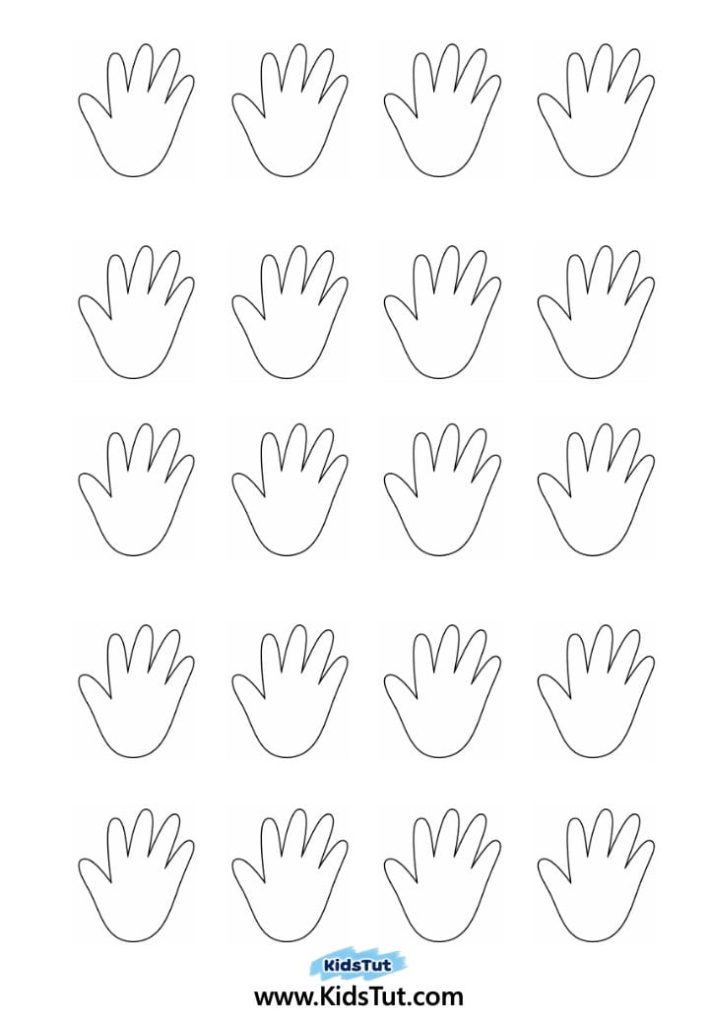
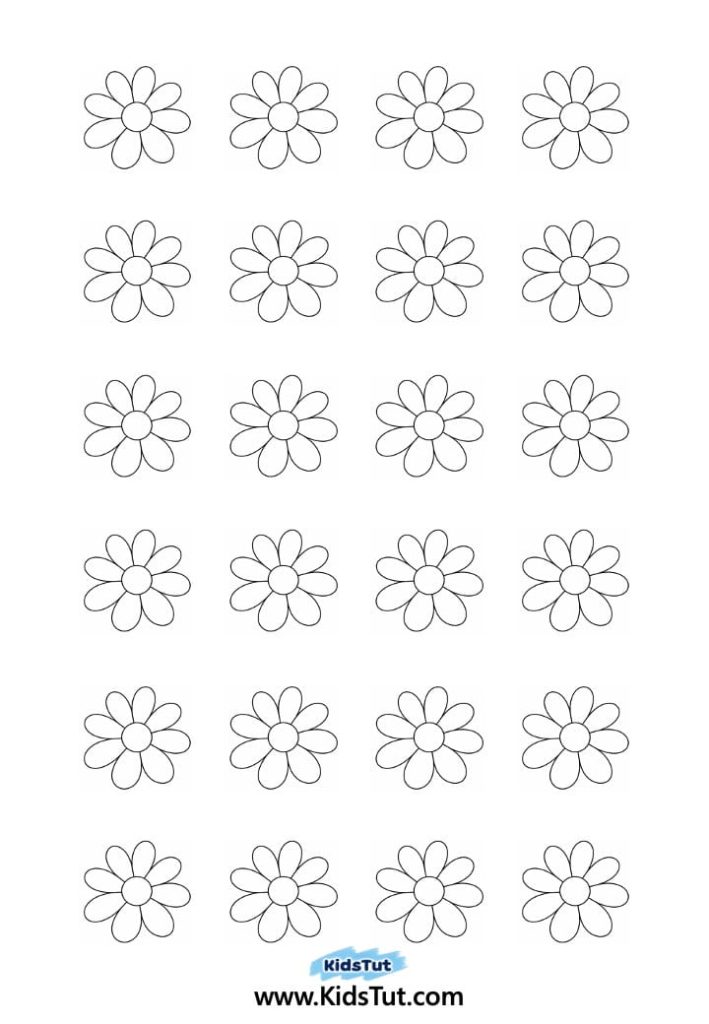
Step 2: Print the templates: Print the tree template on a white sheet. Print the chosen shape on colored paper. Tip: If you don’t have a template, draw the shapes directly on colored paper.
Step 3: Cut out the shapes: Cut them out separately. There’s no need to cut out the tree template itself.
Step 4: Prepare the tree base: Take the printed tree image on paper and get your glue ready.
Step 5: Paste the shapes: Paste the cut‑out shapes onto the tree branches. They will look like colorful leaves or decorations.
Templates:
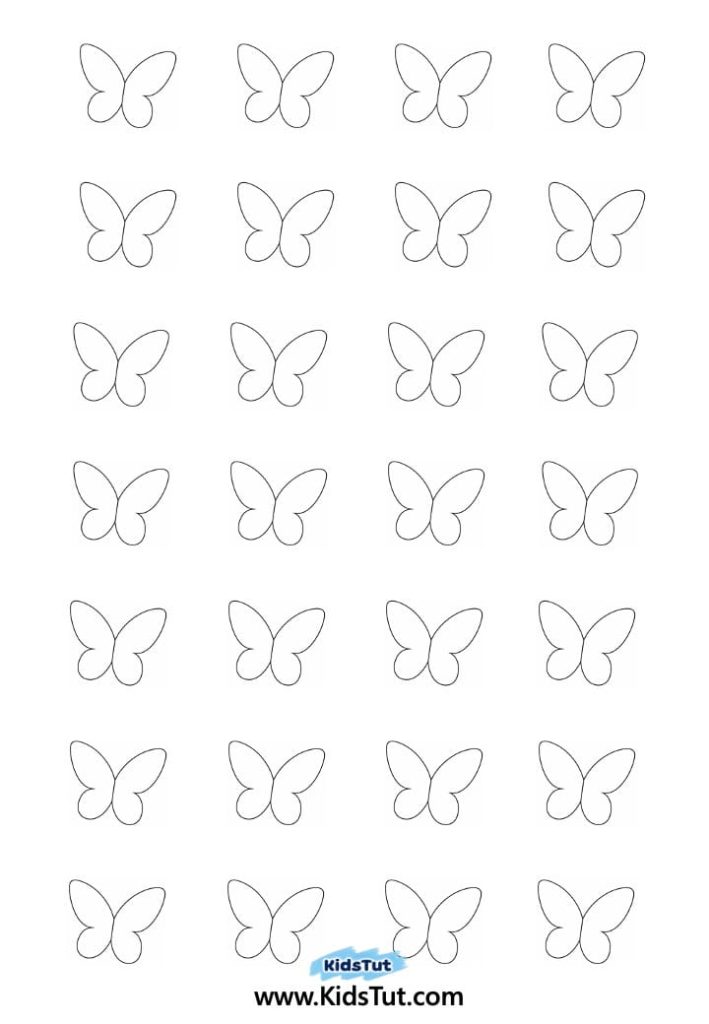

Click here to get the FREE PDF template: Download ( Printable )