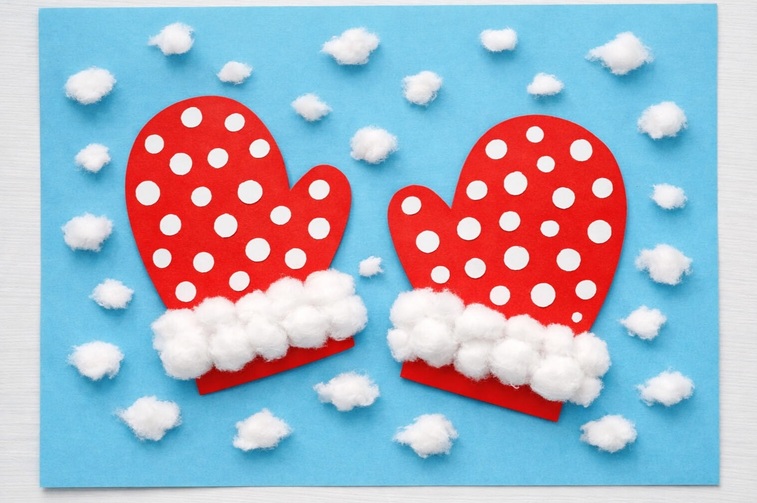
This lesson is inspired by the simplicity and winter theme of the clothesline craft, focusing on fine motor skills, color recognition, and the use of cotton for a snowy texture. It is suitable for preschool and early elementary-aged children.
Educational Objectives
•Fine Motor Skills: Practicing cutting, gluing, and drawing small details.
•Cognitive Skills: Matching pairs and recognizing colors and patterns.
•Sensory Exploration: Experiencing the texture of cotton balls.
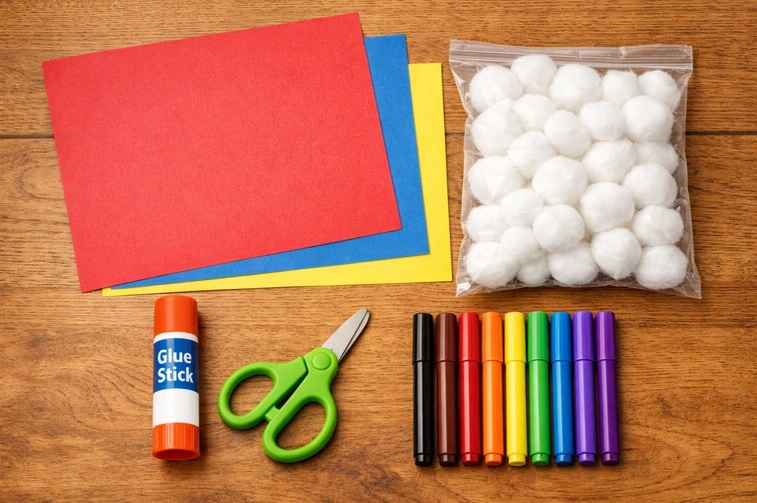
Materials Needed
| Item | Purpose |
| Construction Paper | Background and mitten shapes (e.g., light blue for snow, red for mittens) |
| White Cotton Balls or Cotton Pieces | Creating the snowy cuff and background snow |
| Glue Stick or Liquid Glue | Adhering paper and cotton |
| Child-Safe Scissors | Cutting out the mitten shapes |
| Markers or Crayons | Decorating the mittens with patterns |
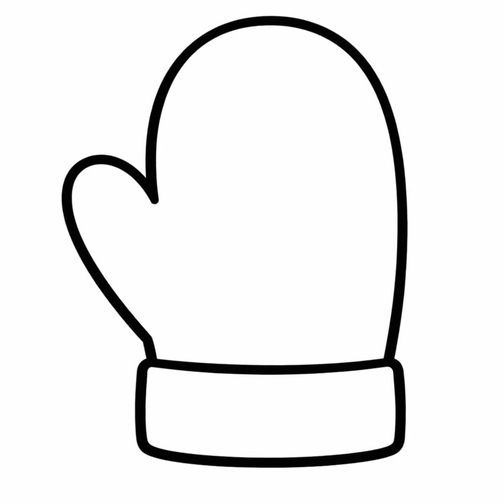
| Optional: Mitten Template | For tracing the shapes |
Step-by-Step Instructions
1. Prepare the Background
Start with a sheet of light blue construction paper to represent a cold winter sky. This will be the canvas for your craft.
2. Create the Mitten Shapes
On a piece of colored paper (like red or yellow), draw or trace two identical mitten shapes. It is important that the two mittens are a matching pair. Carefully cut out both mitten shapes using the child-safe scissors. This step is excellent for developing hand-eye coordination and scissor skills.
3. Decorate and Design
Use markers or crayons to decorate the mittens. Encourage the child to create a matching pattern on both mittens. For example, they could draw polka dots, stripes, or small hearts. The act of creating a symmetrical design reinforces the concept of a pair.
4. Add the Snowy Cuff
Take the cotton balls and gently pull them apart to create a fluffy, snowy texture. Apply a line of glue along the wrist opening of each paper mitten. Press the cotton pieces onto the glue to create a soft, white cuff, mimicking the look of a warm winter glove.
5. Assemble the Scene
Glue the two decorated mittens onto the blue background paper. Position them so they look like they are floating in the air or lying in the snow.
6. Finish with Falling Snow
For a final touch, apply small dots of glue around the blue background. Take tiny pieces of cotton and press them onto the glue dots to represent falling snowflakes or snow on the ground.
Display Your Craft
Once the glue is completely dry, the Winter Mitten Match-Up Craft is ready to be displayed. This simple yet engaging activity provides a beautiful piece of winter art while helping children practice essential developmental skills.

Click here to get the FREE PDF template: Download ( Printable )