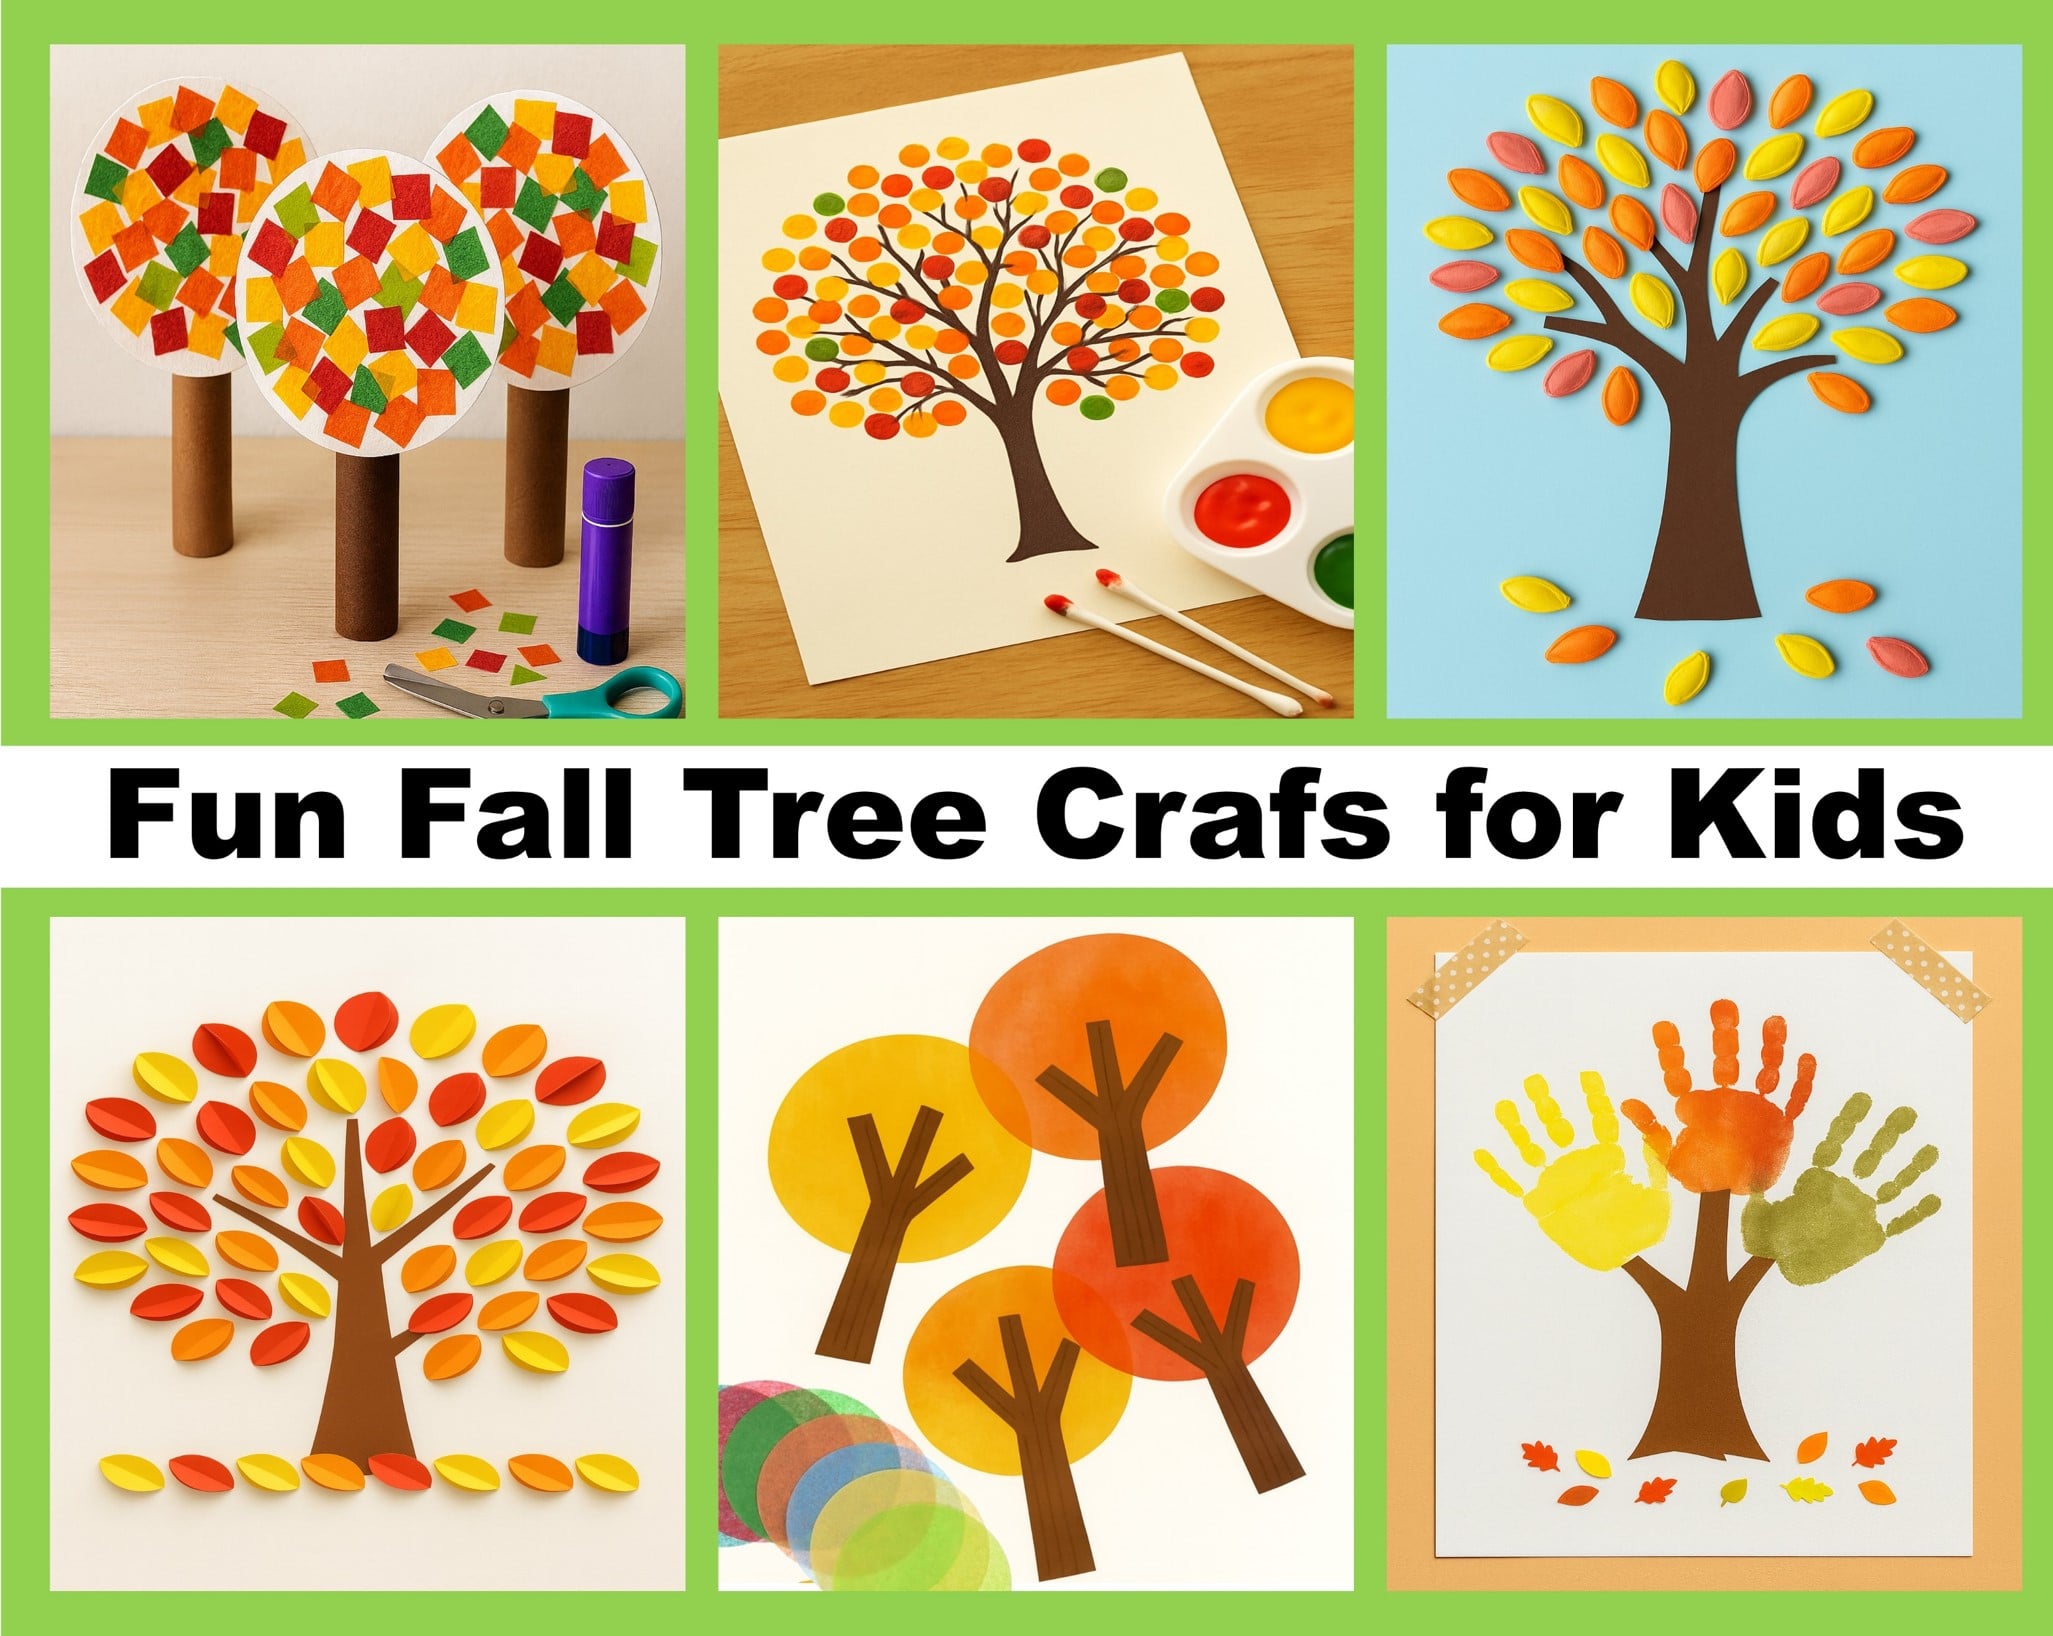
Today, we will create colorful tree crafts that will prepare you for the fall season. On this webpage, we present a variety of tree crafts for children using different techniques. This is also a great opportunity to develop children’s creative thinking and fine motor skills. So let’s see how to make these autumn tree crafts.
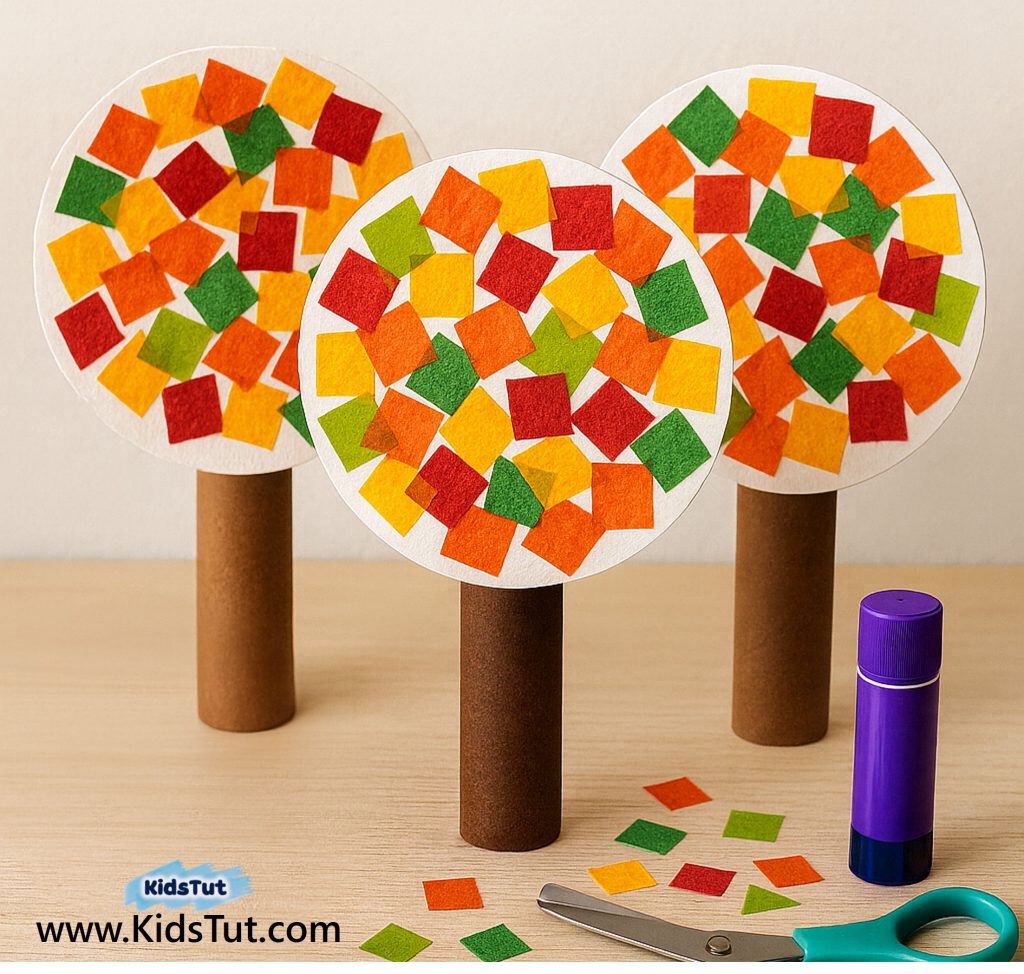
01. Colorful Autumn Tree Craft with Paper Tubes
What You Need:
- Printed templates
- Colored paper or tissue square pieces
- Toilet paper roll (use this instead of the template)
- Paper plate or cardboard circle (use this instead of the template)
- Glue
- Scissors
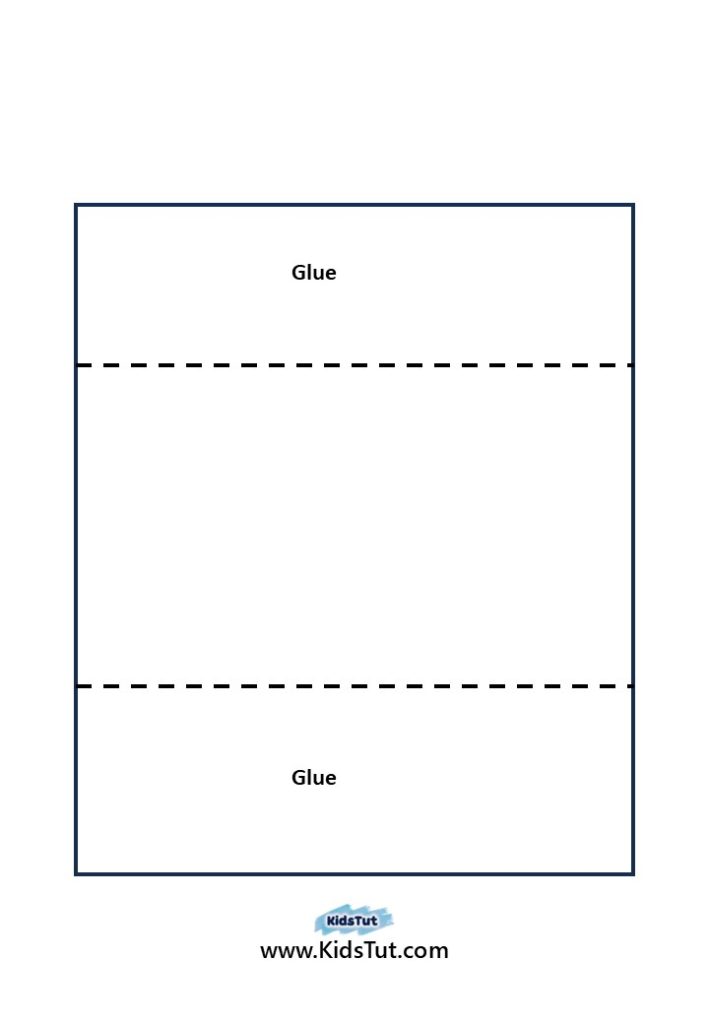
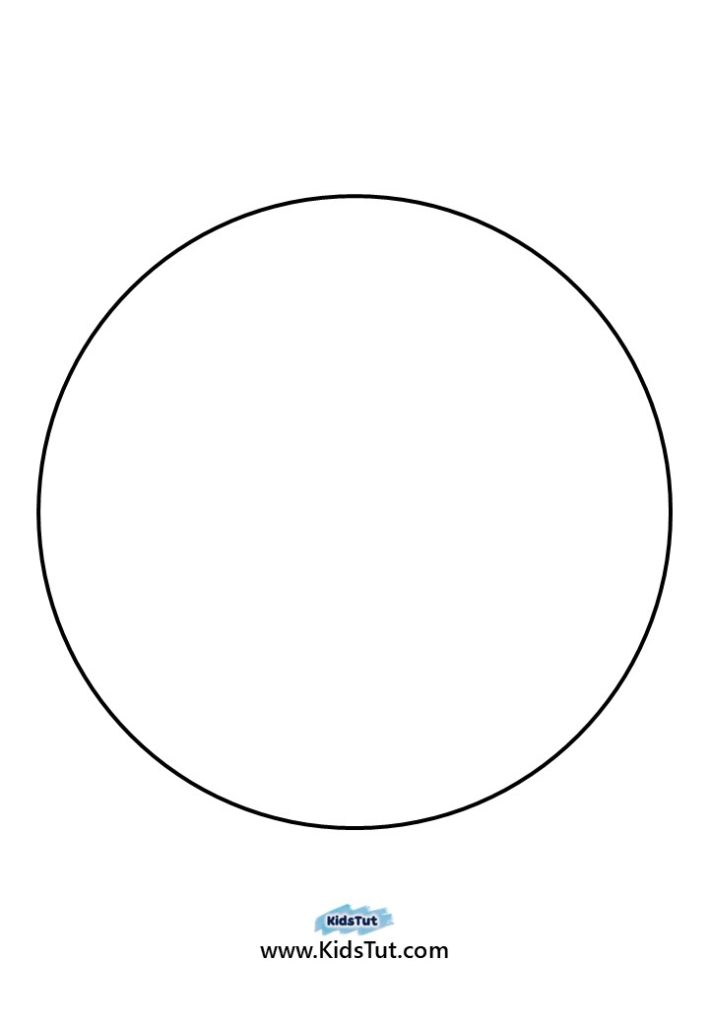
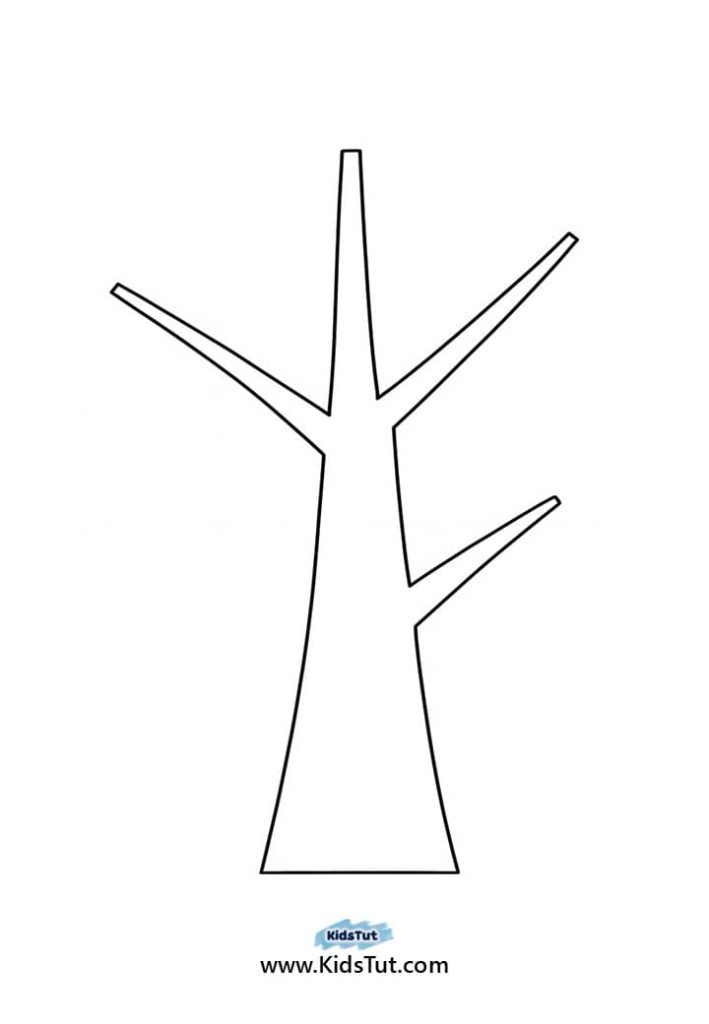
Templates:
How to Make:
- Step 01: Print the template given. Print a rectangle shape on brown paper and a circle shape on white paper.
- Step 02: Paste them on the board and cut out the template images separately.
- Step 03: Make the tube. Roll the cut-out rectangle shape, paste it on the board, and attach both sides. Or take a toilet paper roll and cover it with brown paper.
- Step 04: Take the colored paper or tissue and cut small square pieces.
- Step 05: Paste them on the circle shape.
- Step 06: Finally, attach the circle shape to the top of the tube to make a tree.
02. Q-Tip Fall Tree Painting

What You Need:
- Fall-colored paints
- Cotton swabs
- Printed tree template
- White paper
- Glue
- Scissors
Templates:

How to Make:
- Step 01: Print the tree trunk template on a brown sheet and cut it out from the paper.
- Step 02: Paste it in the center of the white paper.
- Step 03: Dip the cotton swab into fall-colored paints and make dot prints on top of the tree trunk.
- Step 04: Let it dry and display your colorful fall tree.
03. Printed Paper Leaf Fall Tree Craft
What You Need:
- Printed tree trunk and leaf shape templates
- Fall-colored paints
- Paint brush
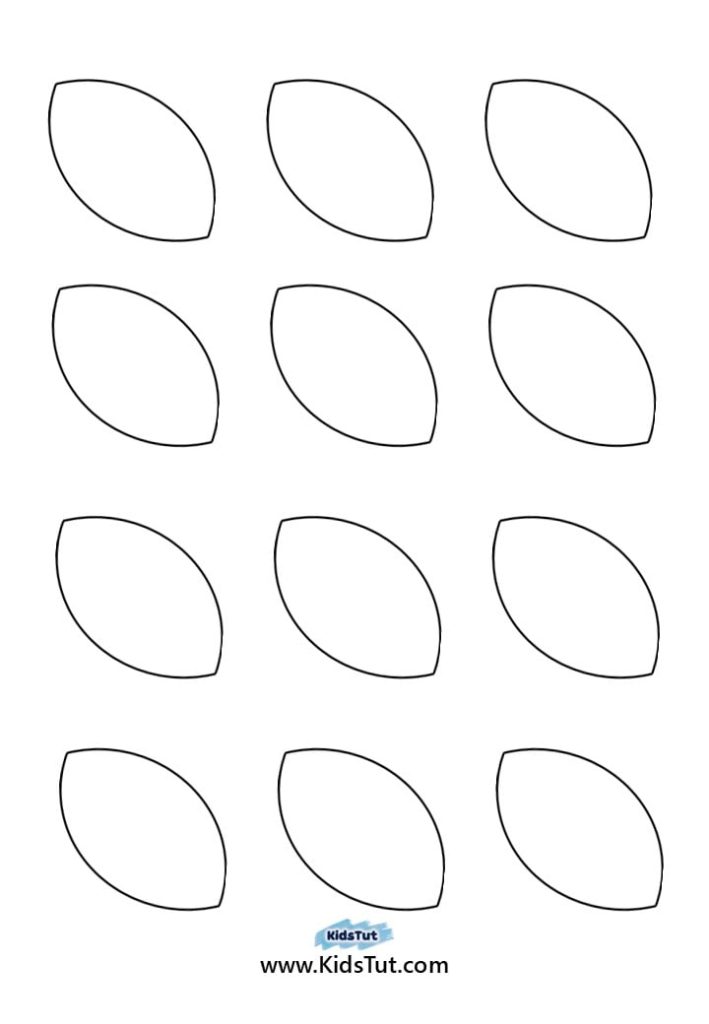
Templates:
How to Make:
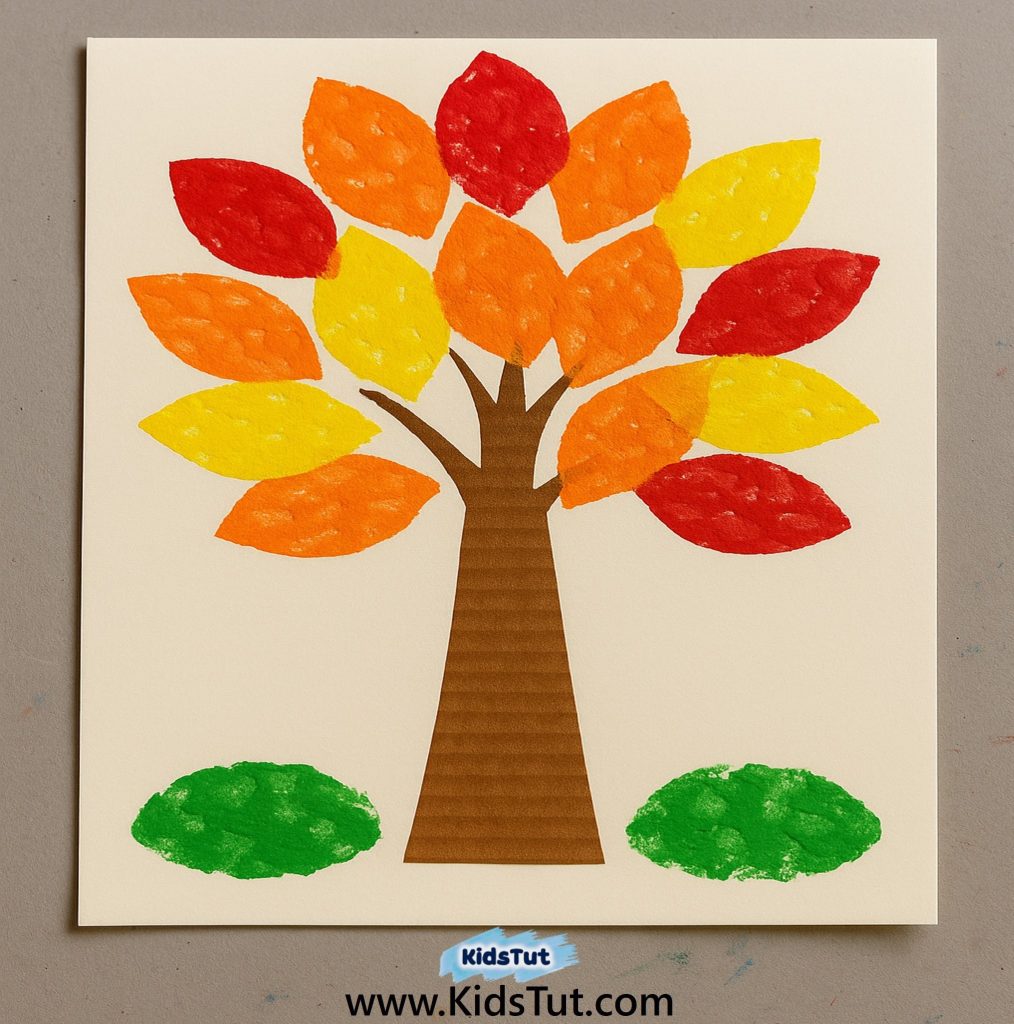
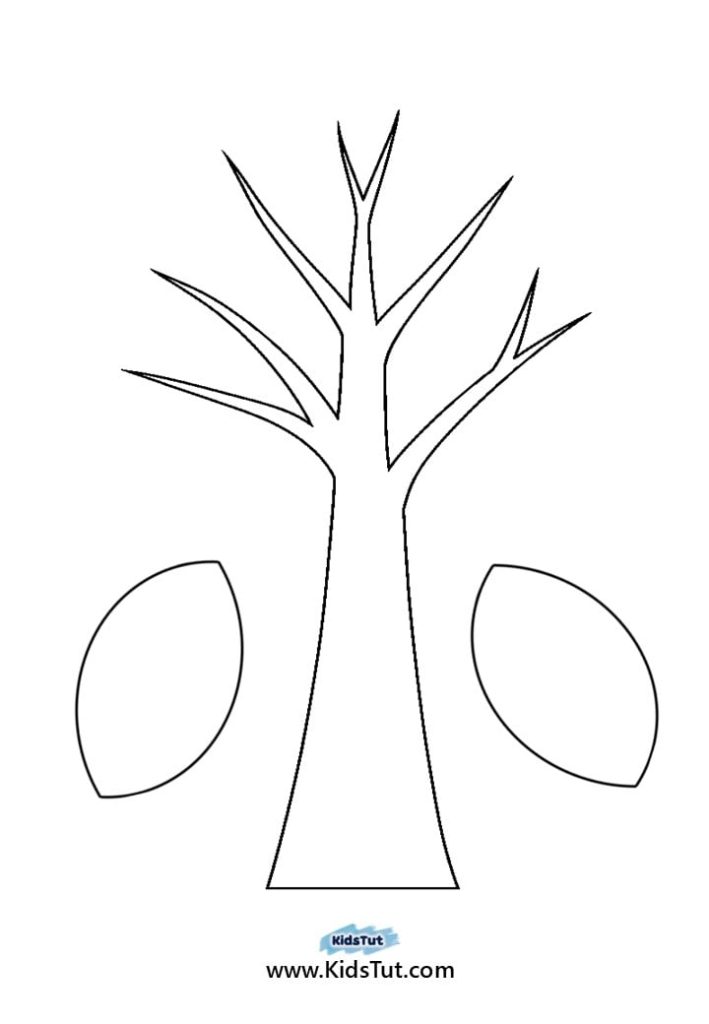
- Step 01: Print the tree template on a brown sheet, and print the leaf templates in the colors you like.
- Step 02: Paste the printed tree trunk on a white sheet.
- Step 03: Take the leaf shape and use it to cut out that shape from cardboard.
- Step 04: Apply fall-colored paint on the cardboard leaf shape and press the leaf print around the tree trunk.
- Step 05: Let it dry and display it in the classroom.
04. Torn Paper Fall Tree Craft:
What You Need:
- Printed tree trunk templates
- Fall-colored tissue or colored papers
- White sheet
- Scissor
- Glue
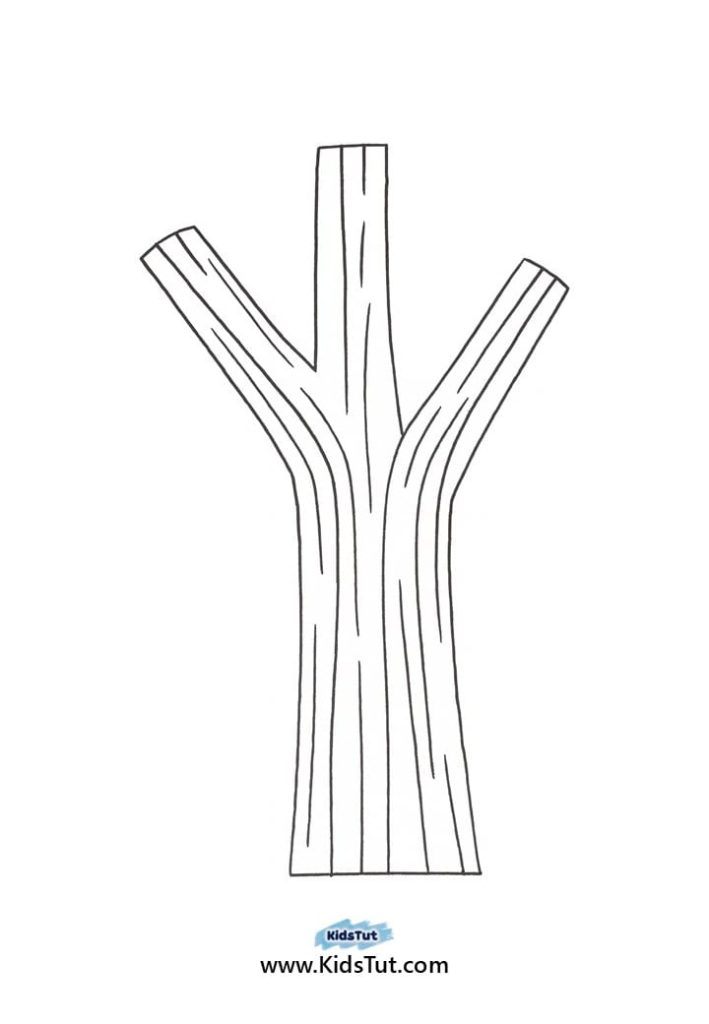
Templates:
How to Make:
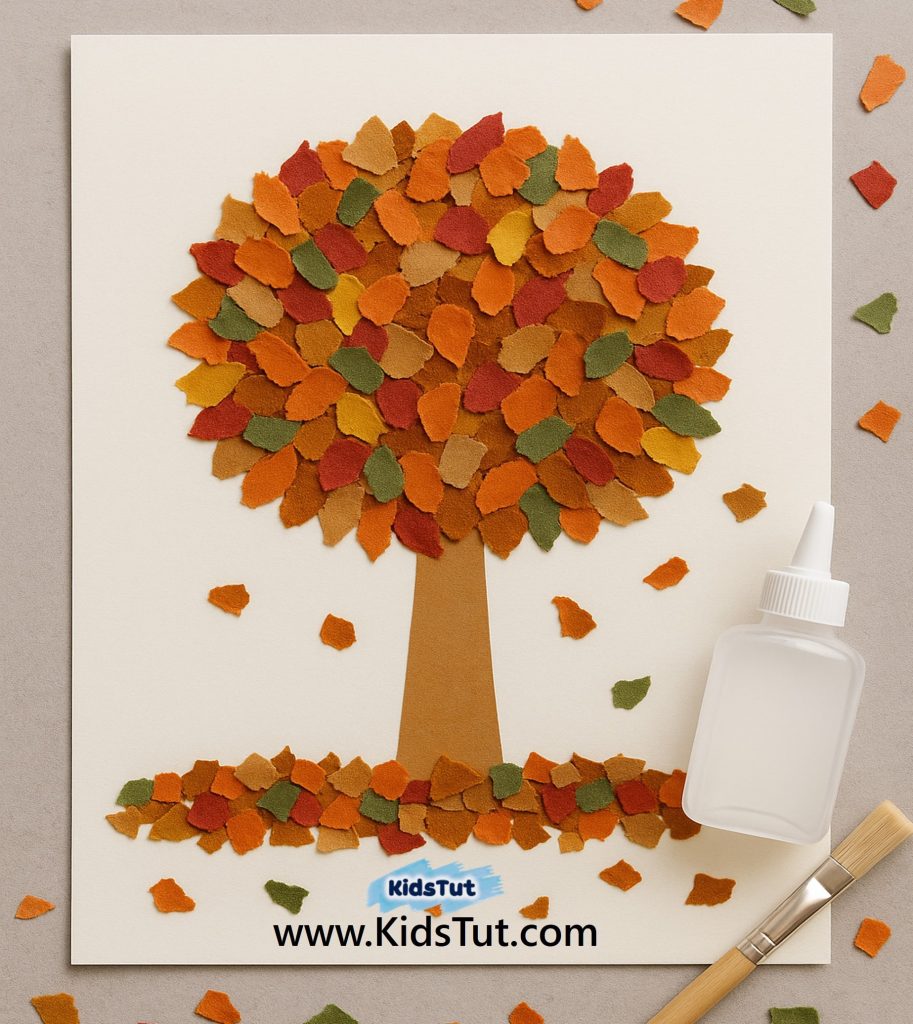
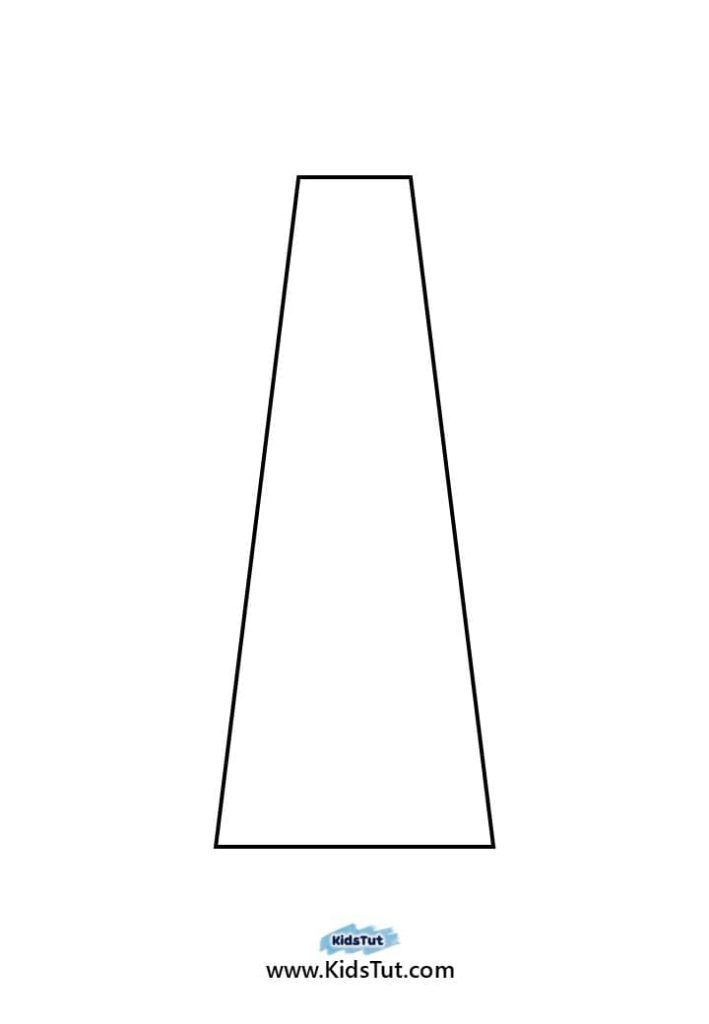
- Step 01: Print the tree trunk template on a brown sheet, and paste it in the center of the white paper.
- Step 02: Take tissue or colored construction paper and tear it into small pieces.
- Step 03: Paste them on top of the tree trunk to create the tree canopy shape.
- Step 04: Add some torn paper under the tree trunk to create a fall vibe.
- Step 05: Let it dry and display it in the classroom.
05. Painted Pumpkin Seed Fall Tree Craft

What You Need:
- Colorful painted pumpkin seeds
- Printed tree template
- Brown colored sheet
- Glue
- Scissors
Templates:
How to Make:
- Step 01: Print the tree trunk template on a brown sheet, and paste it in the center of another white or light-colored paper.
- Step 02: Take colored and dry pumpkin seeds and paste them on top of the tree, and some under the tree.
- Step 03: Let it dry and display it in the classroom.
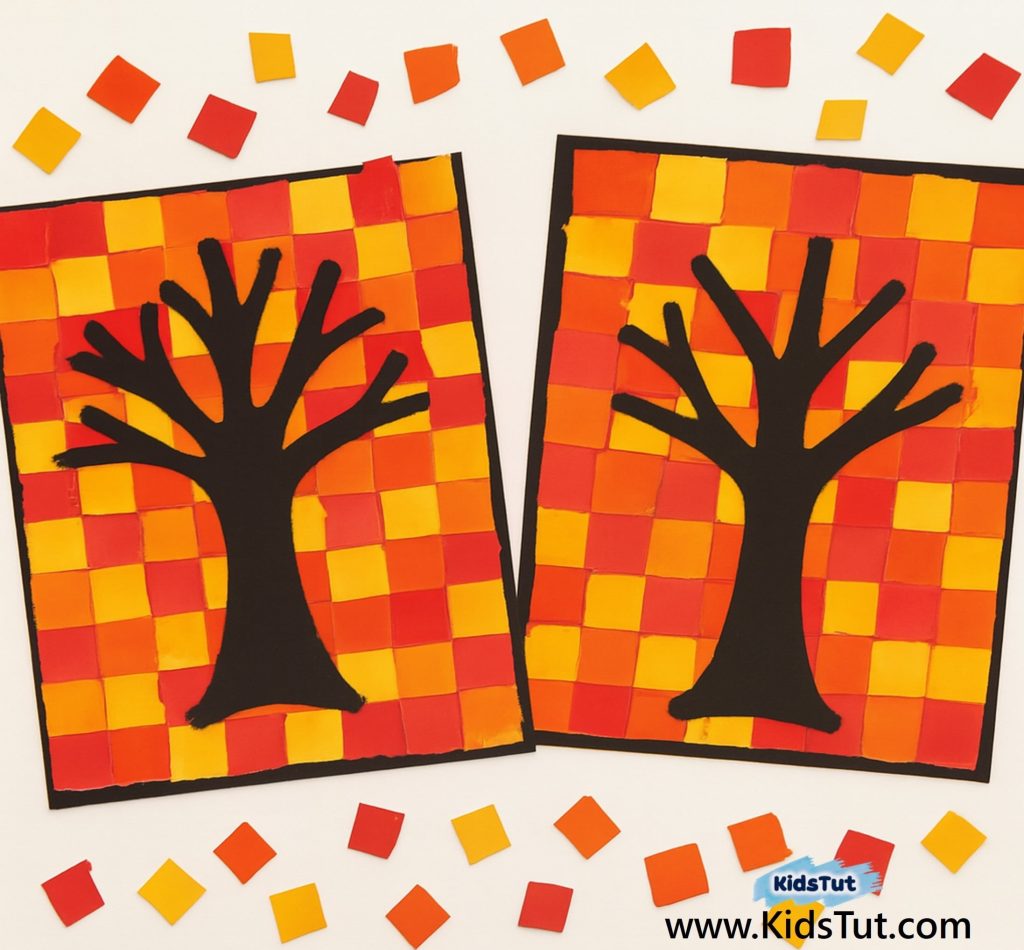
06. Mosaic Autumn Tree Craft
What You Need:
- Printed tree template
- Fall-colored paper squares
- Glue
- Scissors
- White and black papers
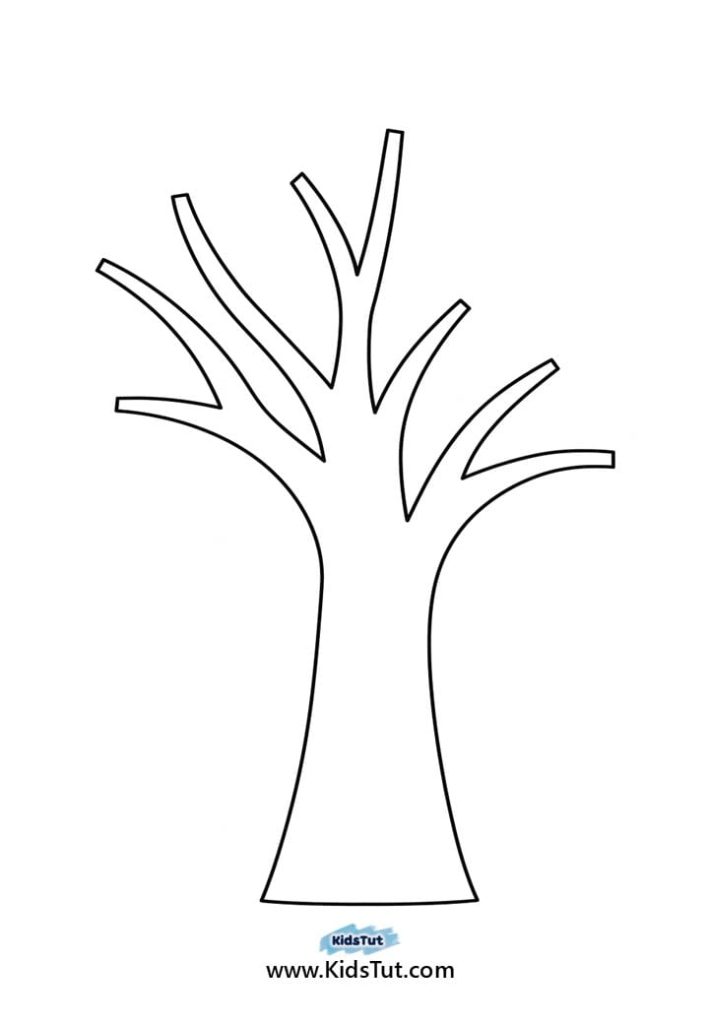
Templates:

How to Make:
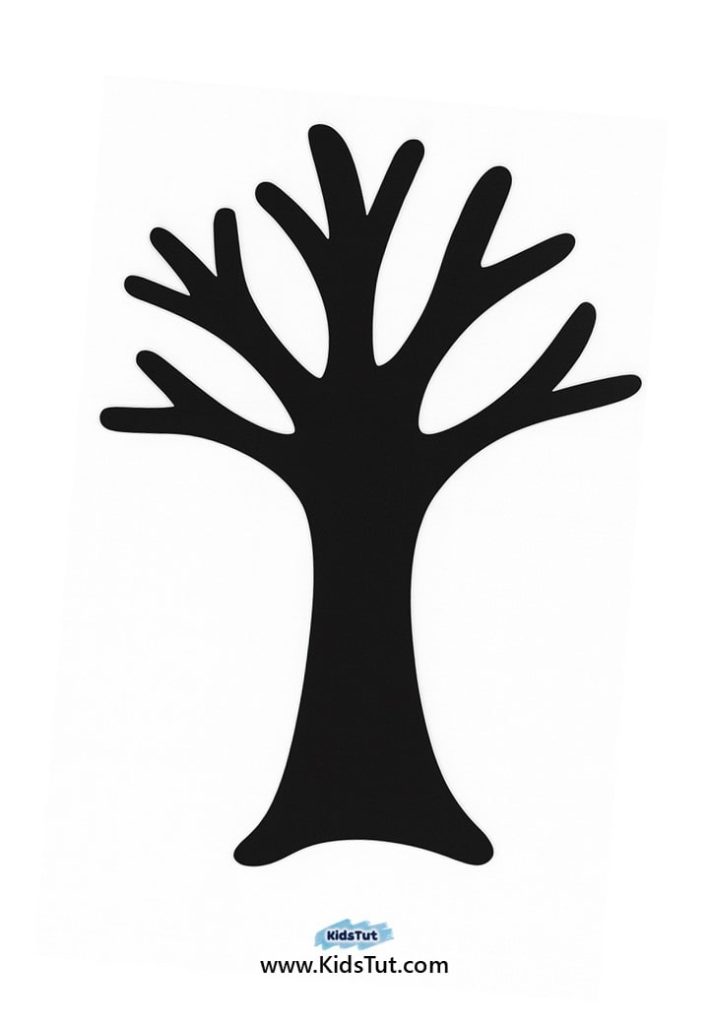
- Step 01: Print the tree trunk template on a black sheet.
- Step 02: Cut it out from the page.
- Step 03: Take the black paper and cut fall-colored square paper pieces.
- Step 04: Paste the fall-colored paper squares on the black sheet, mixing the colors.
- Step 05: Finally, take the tree image and paste it in the center of the colored paper square–pasted black sheet.
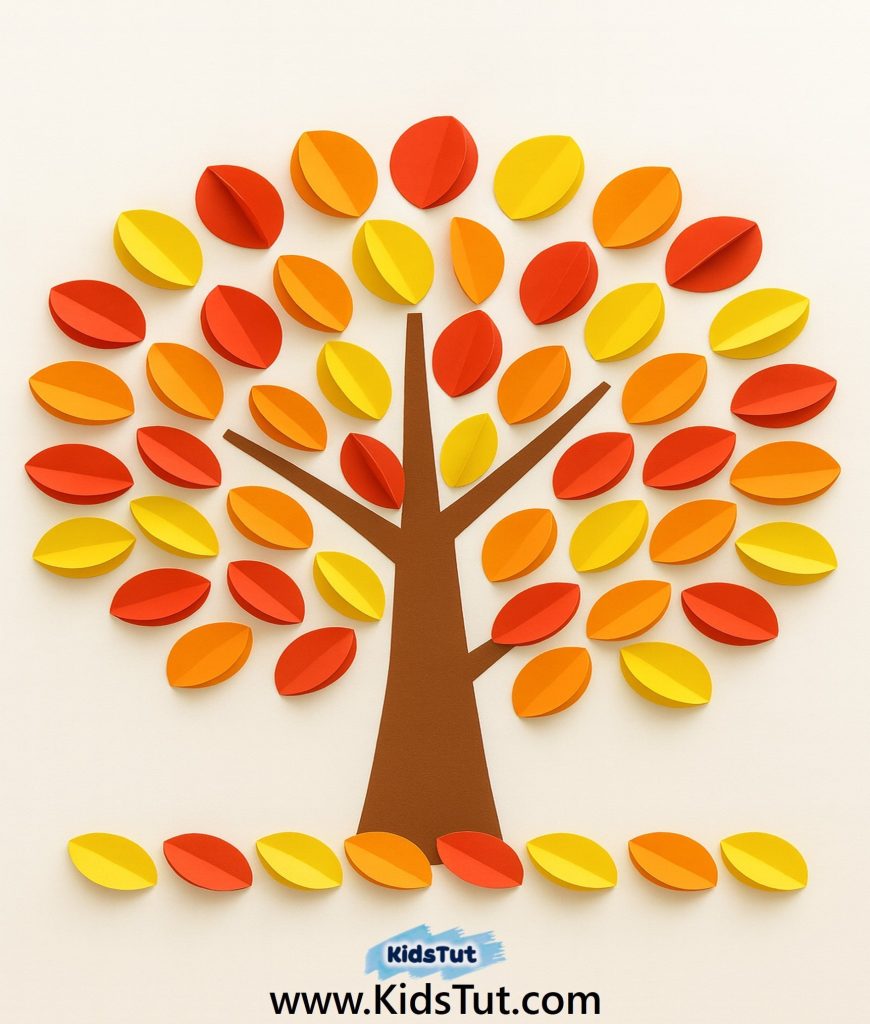
07. Symmetry Leaf Tree Craft
What You Need:
- Printed tree and leaf shape templates
- Fall-colored papers, white and brown paper
- Glue
- Scissors
Templates:
How to Make:
- Step 01: Print the tree trunk template on a brown sheet and paste it onto a white paper.
- Step 02: Print the fall-colored paper leaves separately.
- Step 03: Paste some of them around the tree trunk and at the bottom of the page too.
- Step 04: Then take the rest of the leaves and fold them symmetrically vertically.
- Step 05: Finally, apply glue along thefolded edge only and paste it onto the center of a pasted leaf.
- Step 06: Let it dry and display.
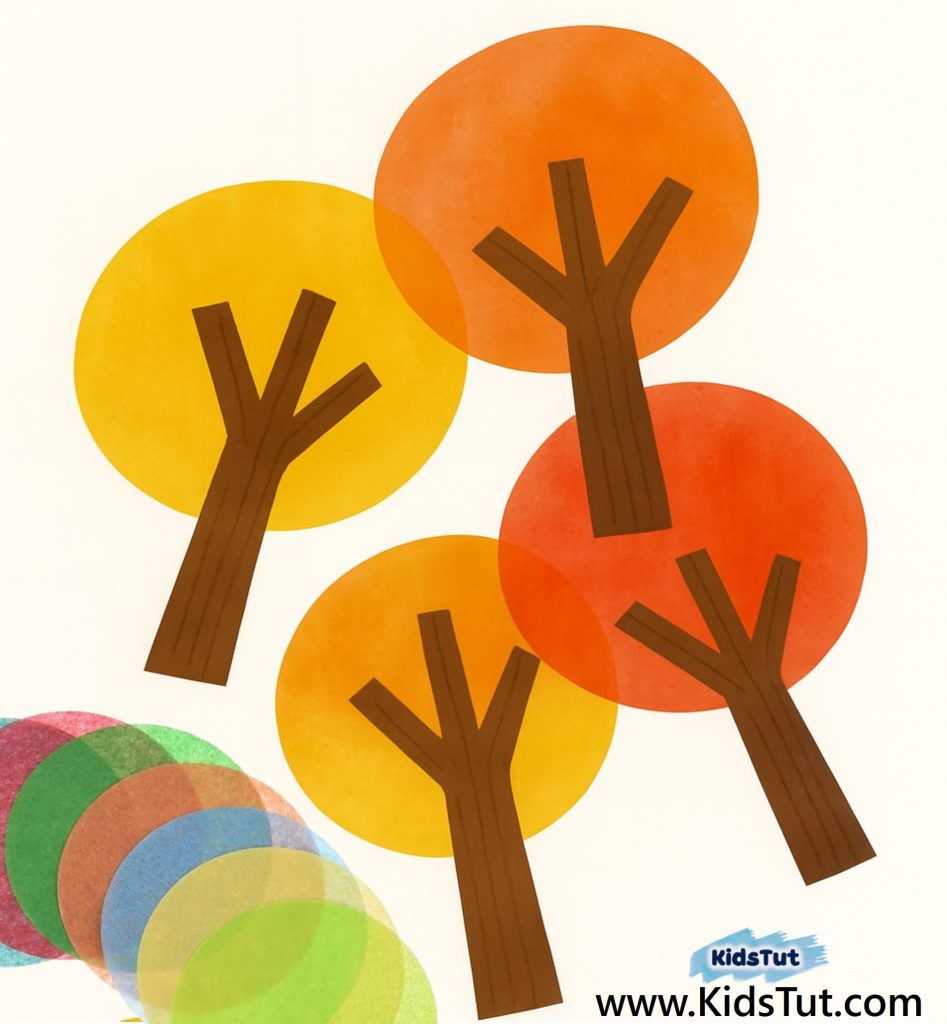
08. Tissue paper Circle Canopy Fall Trees:
What You Need:
- Fall-colored tissue papers
- Printed tree templates
- Glue
- Scissors
Templates:
How to Make:
- Step 01: Print the tree trunk template on a brown sheet and cut it out from the paper.
- Step 02: Take the fall-colored tissue paper and cut circle shapes from them.
- Step 03: Attach the paper circles and printed tree together to make a tree.
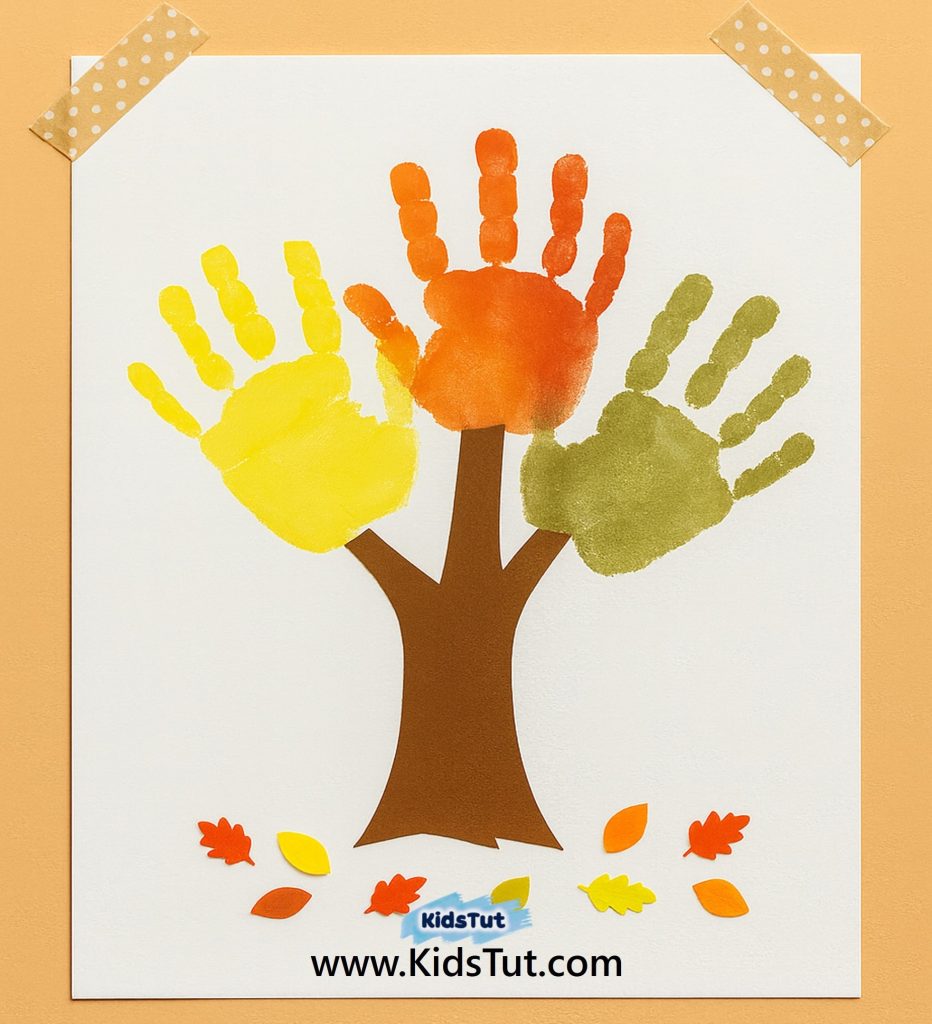
09. Handprint Fall Trees
What You Need:
- Fall-colored paints
- Paintbrush
- Printed tree template
- Scissors
- Glue
- Cut out small leaf shapes
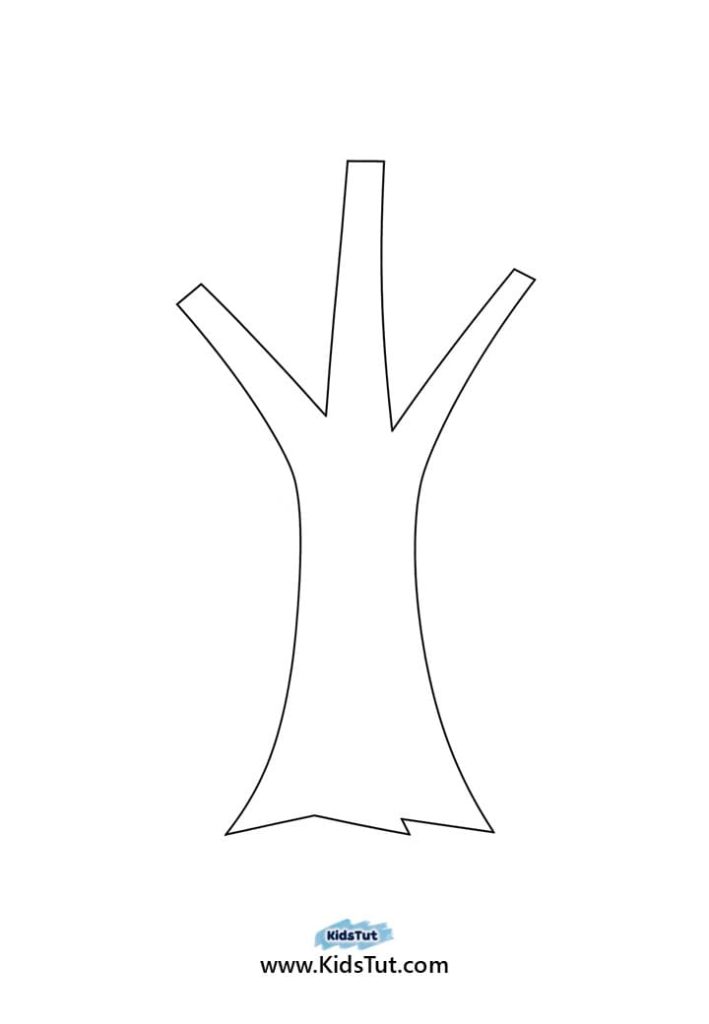
Templates:
How to Make:
- Step 01: Print the tree trunk template on a brown sheet and cut it out from the paper.
- Step 02: Then paste it in the center of the white paper.
- Step 03: Take the fall-colored paint and apply it to the child’s hand.
- Step 04: Put the handprint on top of the tree trunk.
- Step 05: Cut out small leaf shapes using a cutter and paste them under the tree to create a fall vibe.