Fall is the magical season where leaves are all red and gold. This is the mists and mellow fruitfulness. So, this is the best magical time to do a magical craft. The fall season is for fun fall crafts. Having a walk through nature, collecting fall items, and making a craft is fun.
As the weather becomes cooler and the leaves change into beautiful shades of color, this inspires children to explore new colors. These fun Fall crafts are a way for kids to express their imagination while learning about seasons and more. These Fun Fall Crafts not only keep them engaged but also help build fine motor skills, creativity, and confidence. With just a few basic materials, children can create colorful artworks that celebrate the beauty of autumn.
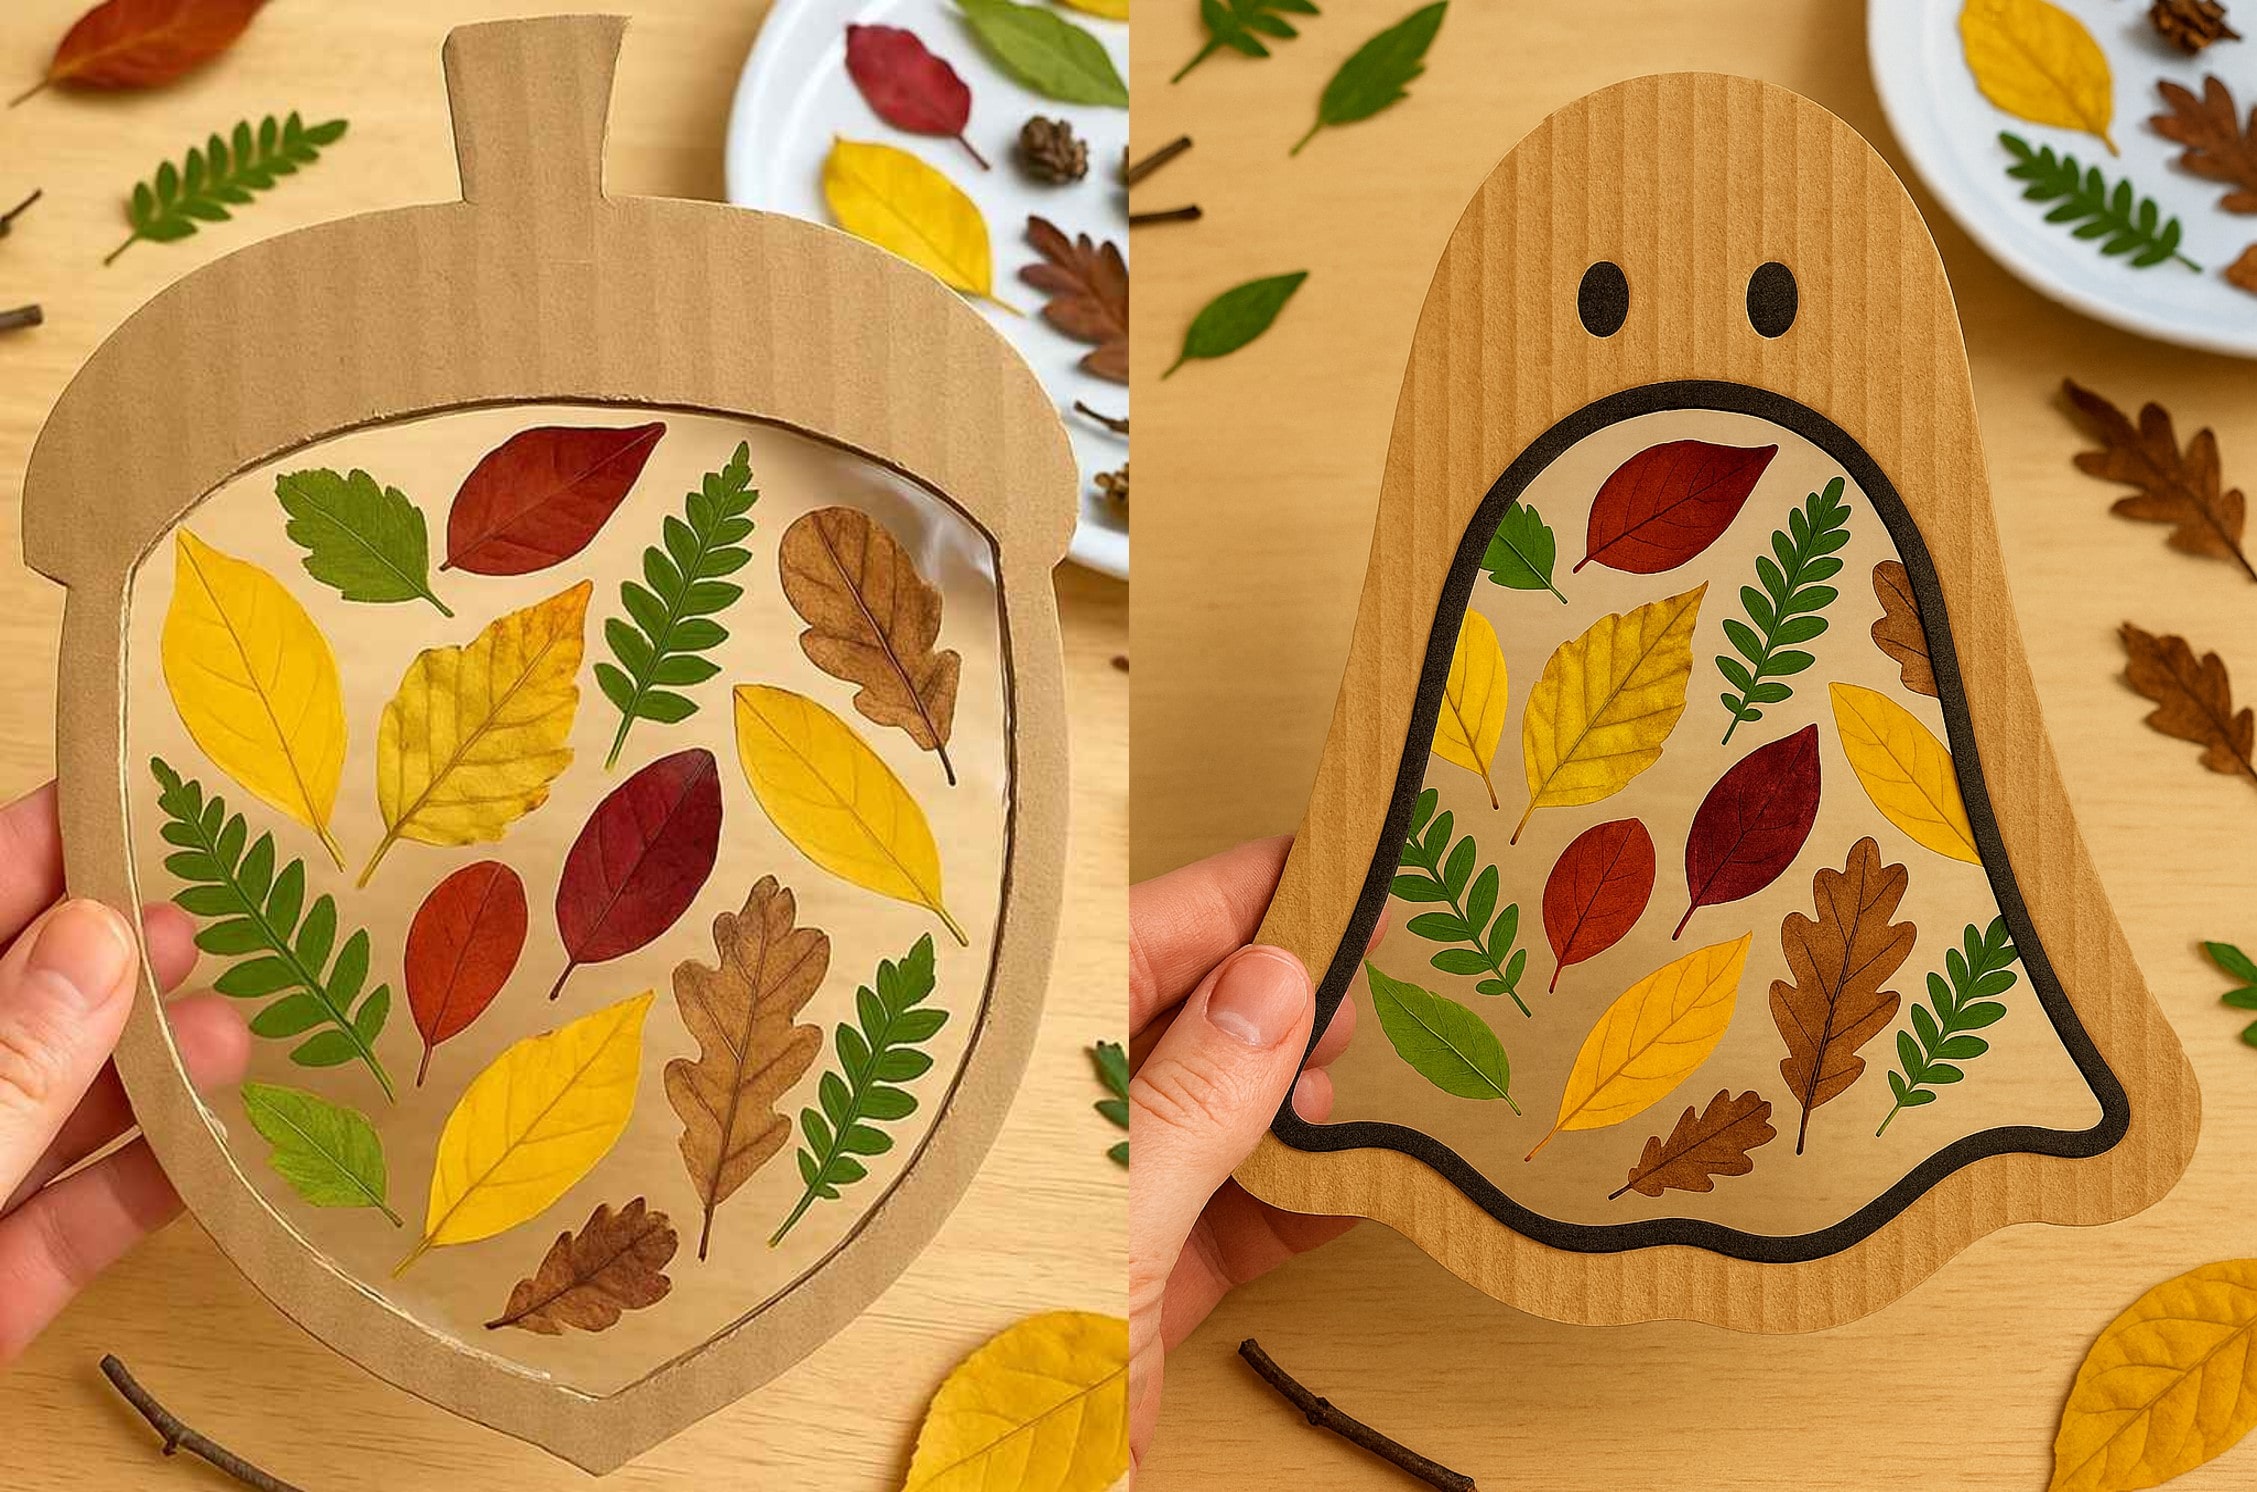
We have the best fall craft of all fall crafts. Here we are introducing an Easy nature cutout craft. This is a fun and educational craft for kids. Filled with fall colors and natural textures, this craft allows kids to explore the beauty of autumn while having fun. It’s not just enjoyable, it’s also educational, helping children develop fine motor skills, creativity, and an appreciation for nature. This is the perfect hands-on activity to bring the magic of fall into your kids life!!
Let’s go with this craft now!!!
What You Need
First of all, we need to grab a few items. You don’t need any fancy supplies to make this craft; most of the materials can be found right at home. Simple, affordable, and easy to gather. these items help kids focus on creativity rather than complicated preparation. So, this makes the activity perfect for busy teachers, parents, and little crafters.
Here are the materials you need:
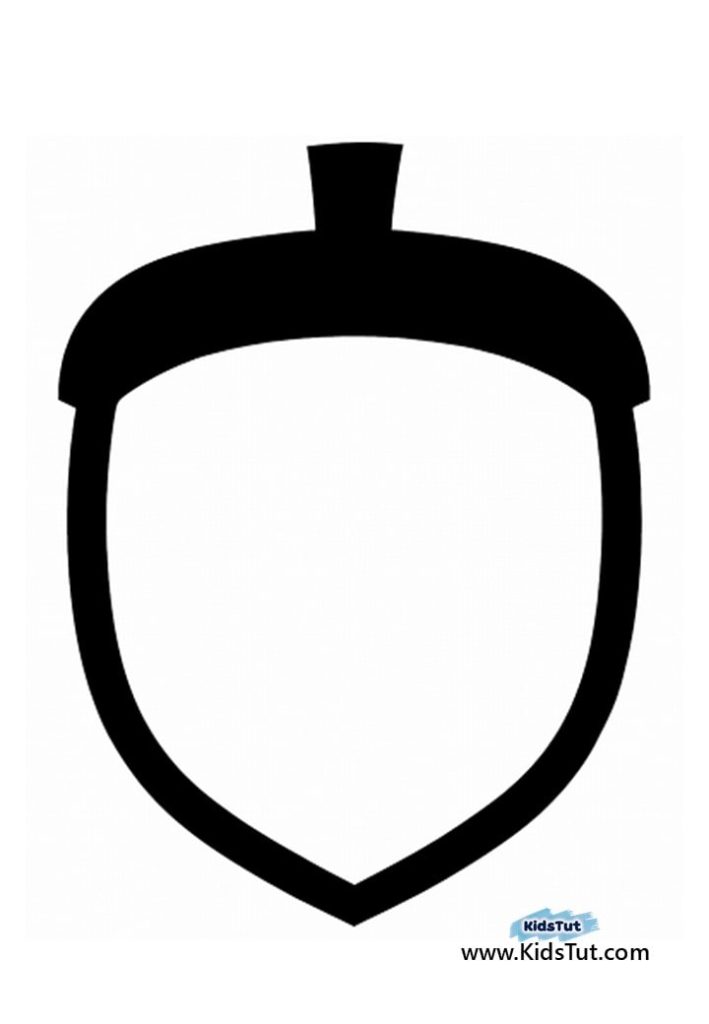
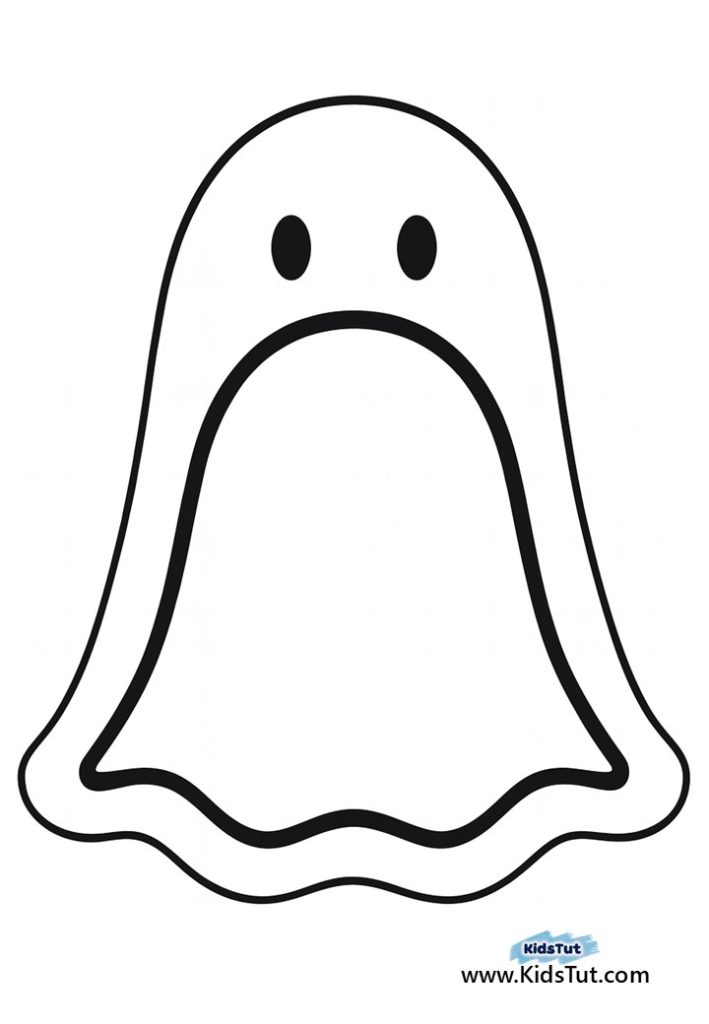
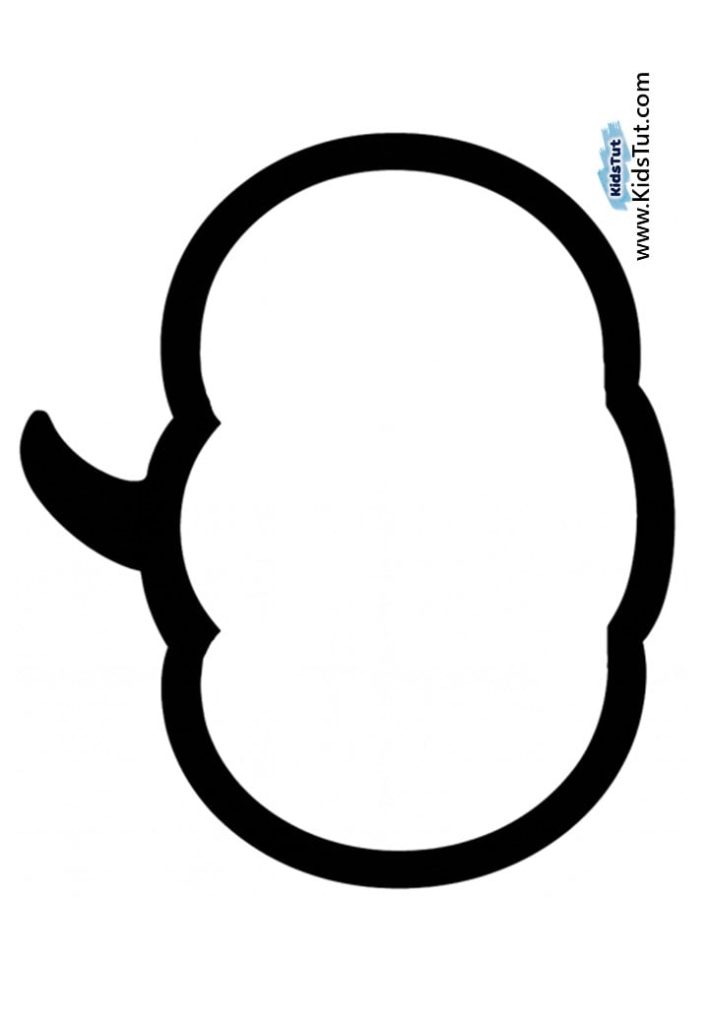
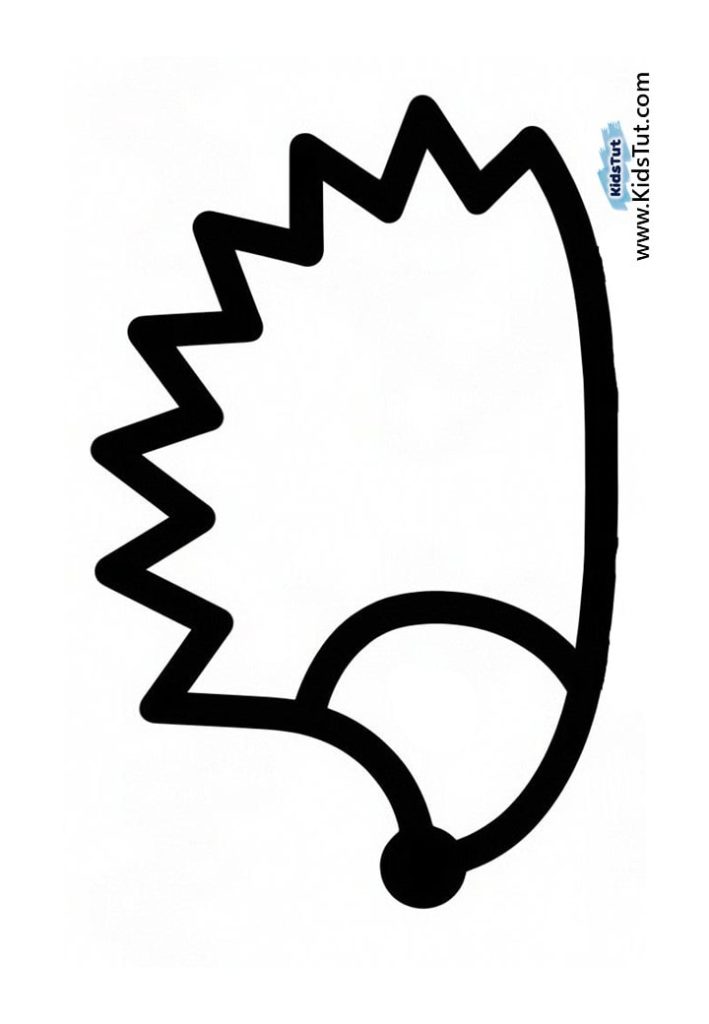
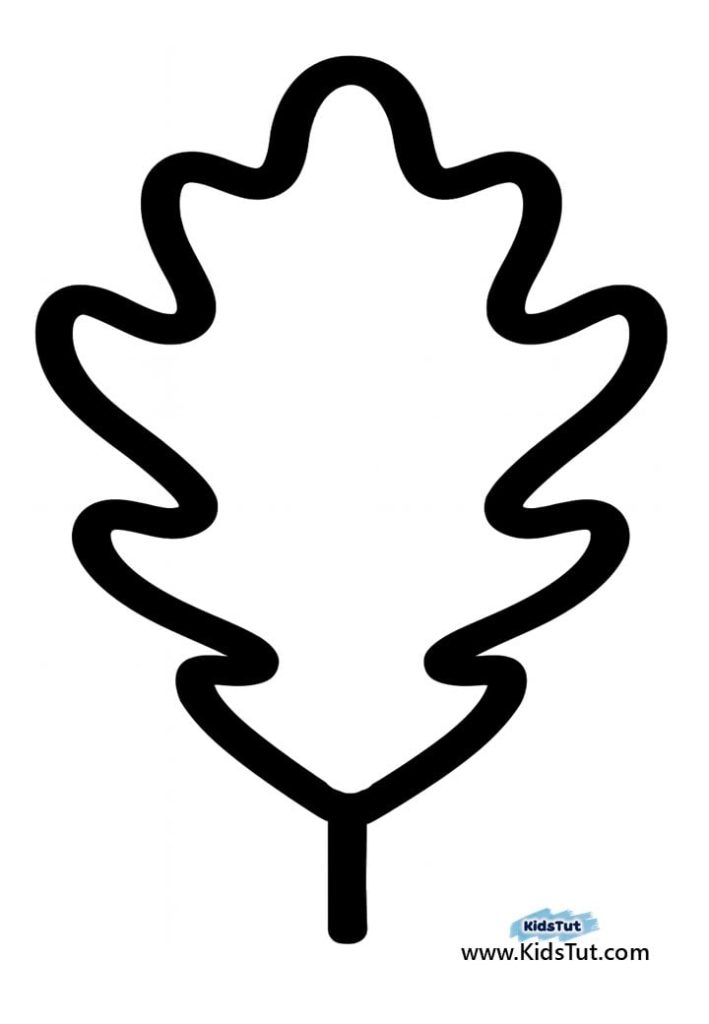
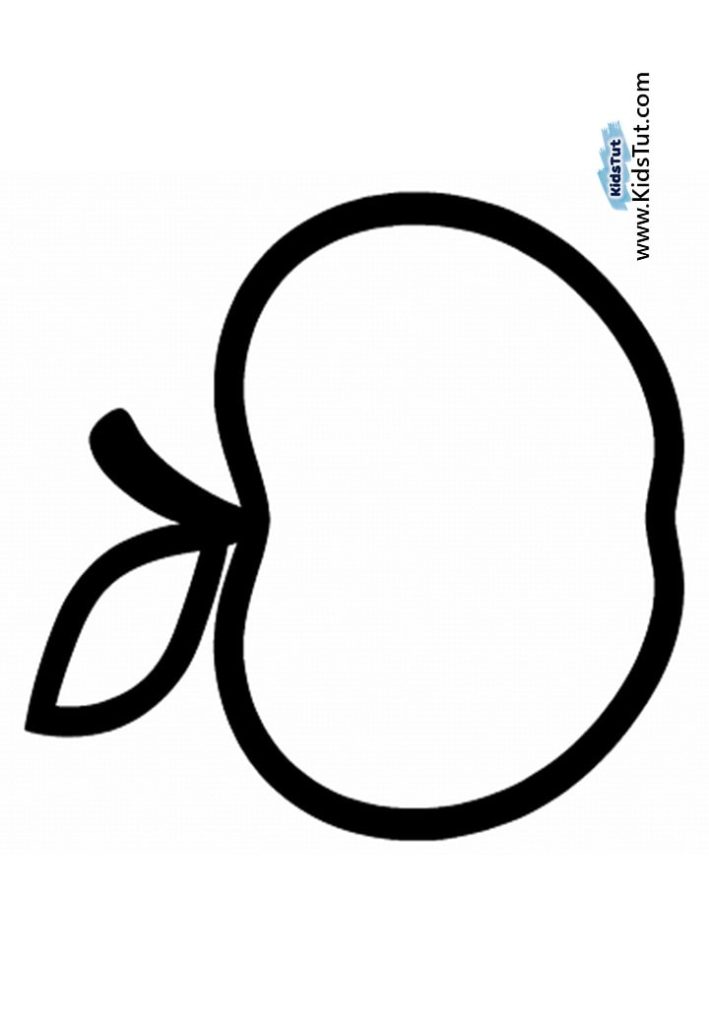
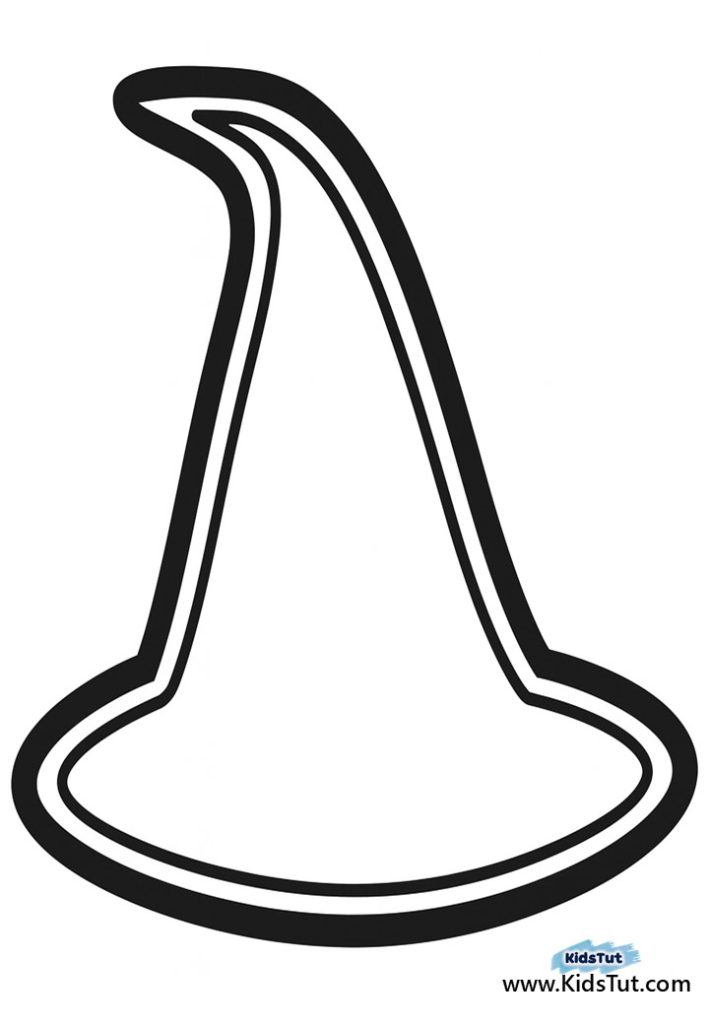
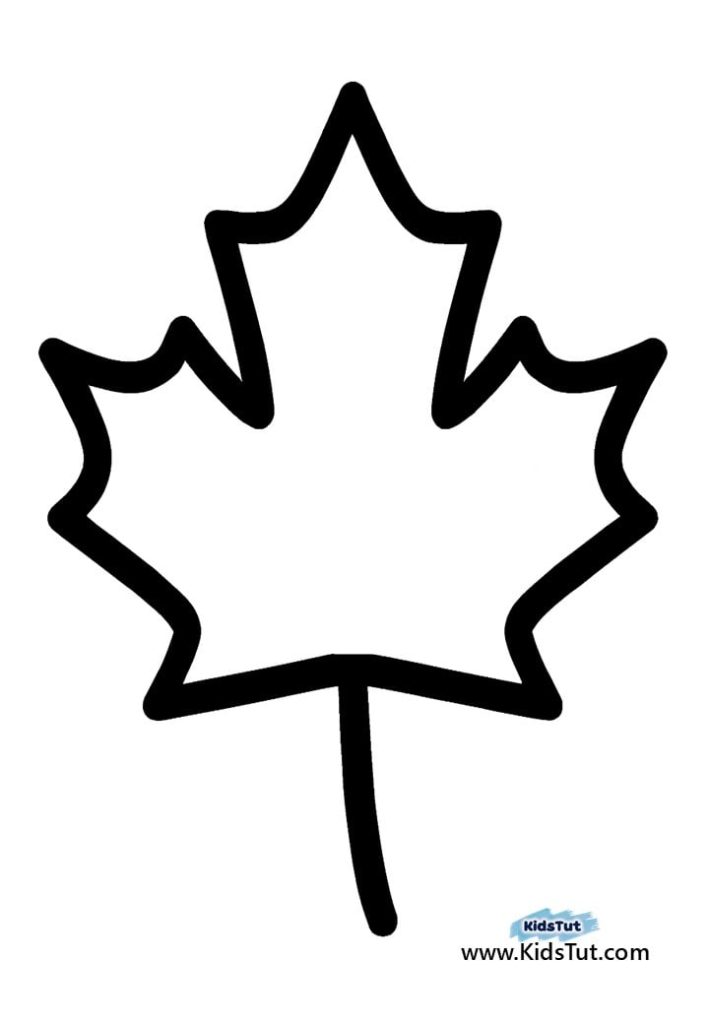
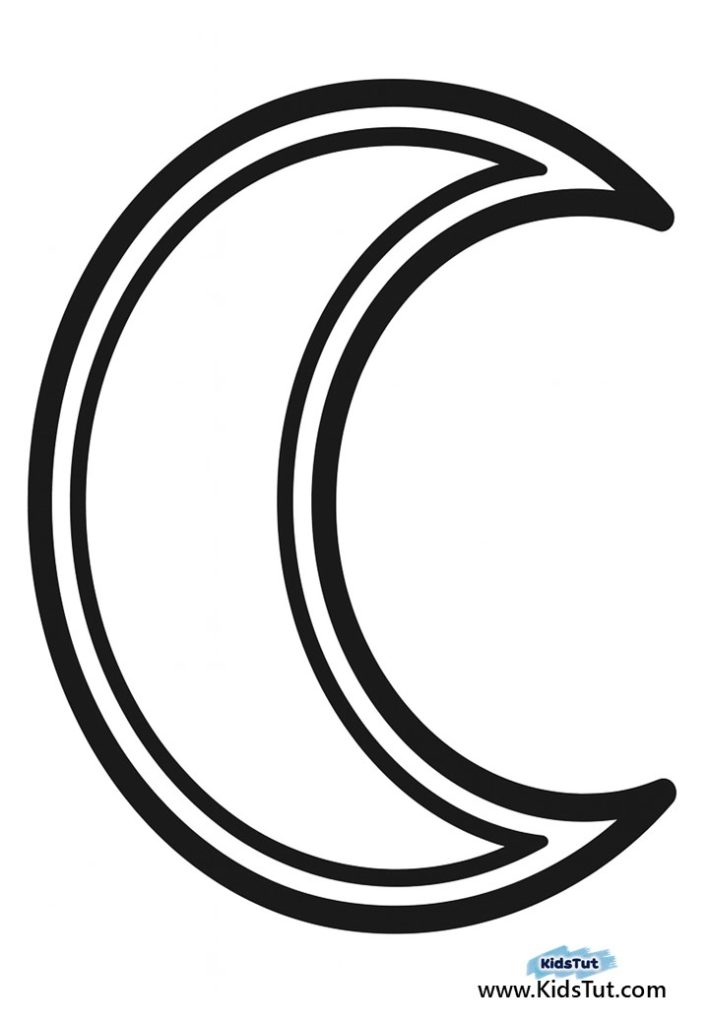
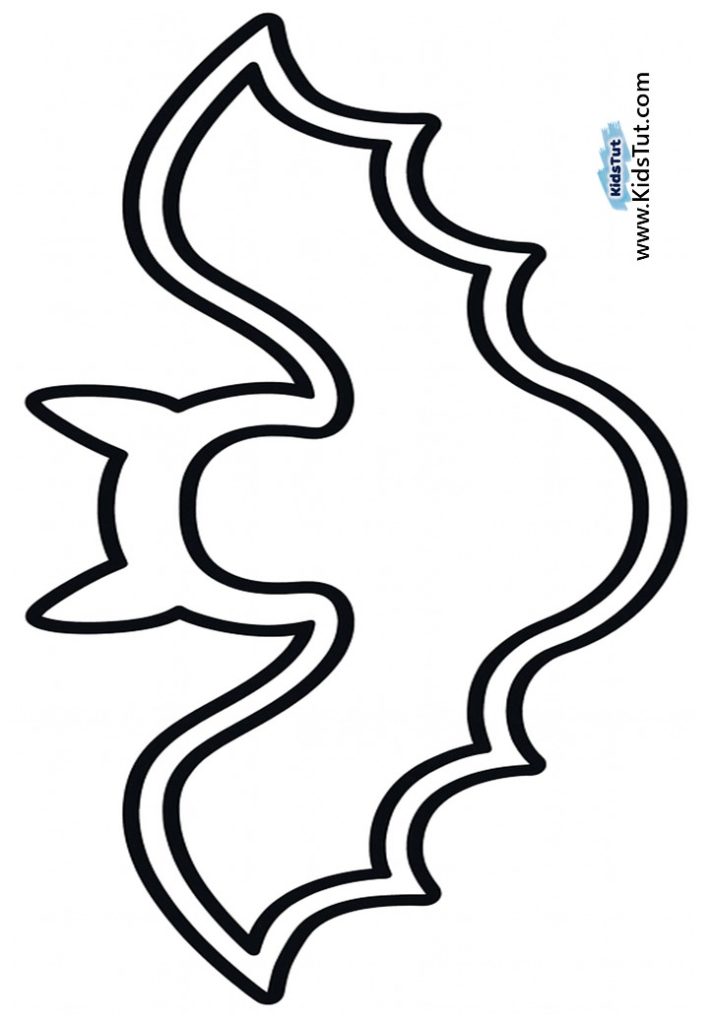
- Fall templates (pumpkin, apple, acorn, or leaf outlines)
- Cardstock or cardboard for strength
- Scissors
- Clear tape or transparent sticky sheets
- Real fall leaves, small nuts, or sticks
- Glue (optional)
See!! this is not that stressful, easy to collect materials!!
How to Make the Nature Cutout: Fun Fall Crafts
Even if you are a teacher, parent, or caregiver, this activity is easy to set up!! We have provided clear guidelines, so you can make this craft easy to set up. Whether you’re working with a group of students or engaging one child at home, this is designed to be simple, enjoyable, and stress-free. With these instructions, So, you can guide kids with ease and make the crafting experience fun, meaningful, and beautiful.
Step 1 – Print and Cut
First of all, get the printouts of the templates. we have supplied a template with eleven different images. Make sure to print them clearly. Most importantly, print them with enough space so kids have plenty of space to cut, color, and decorate comfortably. After that, let the kids cut those templates neatly. Cutting develops the hand-eye coordination and concentration of kids.
Step 2 – Add a Clear Center
Then use a clear tape or a piece of transparent sticker sheet to cover the open space. this will create a sturdy “window” that keeps all the nature pieces in place. The transparent layer also makes the craft look clean, bright, and easy for kids to handle as they add their leaves, petals, or tiny fall treasures.
Step 3 – Collect Nature Treasures
After that, go step outside with the kids and take a short nature walk. collect fall leaves, tiny nuts, or small sticks. Then, encourage children to explore different shapes, sizes, and textures. Discuss with them about dry leaves in, fall season. Once you return, make sure all the items are completely dry before using them.
Step 4 – Decorate the Frame
Then, Stick the leaves, nuts, or small pieces inside the clear window. Kids can arrange them in fun patterns or simply place them randomly for a natural, organic look. So, let them do whatever they want to do. do not force them, but motivate them to boost their creativity.
Step 5 – Display Your Craft
Finally, after you finish, your cutout craft can be taped to a window, hung on the wall, or proudly displayed on a board. When the light shines through, the natural colors of autumn glow beautifully, making the craft look vibrant and eye-catching. So, it’s a wonderful way to bring the warm, cozy feeling of fall into your home or classroom.
And that’s it!! with just a few simple steps, your easy nature cutout craft is complete. children will enjoy seeing their creations come to life, and the colorful display adds a cheerful touch to any space. this fun and hands-on activity not only celebrates the beauty of fall but also encourages creativity, fine motor skills, and a love for nature. it’s a perfect way to make learning and crafting memorable this autumn.
Tips for teachers:
- Encourage patience and careful handling of small pieces to avoid frustration.
- Use larger leaves, nuts, or other nature items
- Make it a social activity by crafting together and sharing stories about the season.
Final Thought: Fun Fall Crafts
These Easy Fall Crafts are fun but only, but also educational. it’s a way to connect with the season, spark creativity, and share joyful moments with children. whether you are a teacher, parent, caregiver, or elder, this craft brings warmth, color. Celebrate autumn’s beauty, have fun, create, and let your imagination shine!!
Easy Nature Cutout Craft Templates:

You can download all the Fall craft Templates from the PDF below.
**** Click here to get the free PDF template: Download
We have so many Fall Crafts for kids. Here is the best fall crafthttps://kidstut.com/easy-fall-crafts-for-kids-sorting-jars-activity/