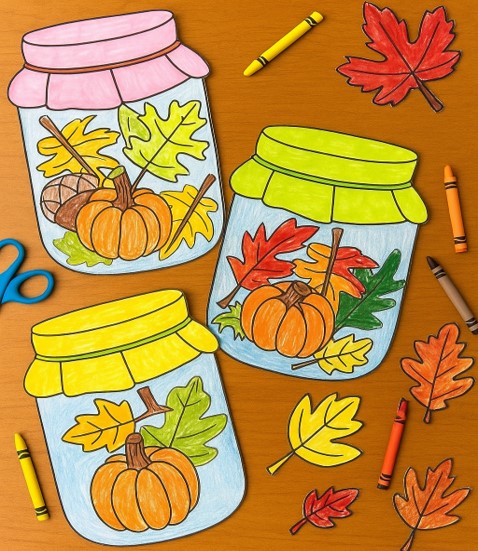
Fall is the magical quarter of the year-end. As leaves change their colors, the weather becomes cooler and crisp, and the harvest is ready to pick. With the sun setting earlier and the days growing shorter, this season becomes the perfect time to explore creativity through hands-on crafts. It’s also a wonderful opportunity to celebrate the beauty and colors of autumn through easy fall crafts.
Introducing autumn crafts is exciting. To begin with the excitement, here are the fun and creative, and Easy Fall crafts. We are doing this craft using free printable coloring pages of fall leaves, vegetables, and fruits.
Scroll down and see the magic!!!
Whether you’re a parent, teacher, or caregiver, these Easy Falls Crafts are perfect for classrooms, playgroups, or cozy afternoons at home.
Kids will love coloring, cutting, and gluing their favorite fall items into their very own “Autumn Jar” masterpiece!
Easy Fall Crafts Jar Activity Templates:
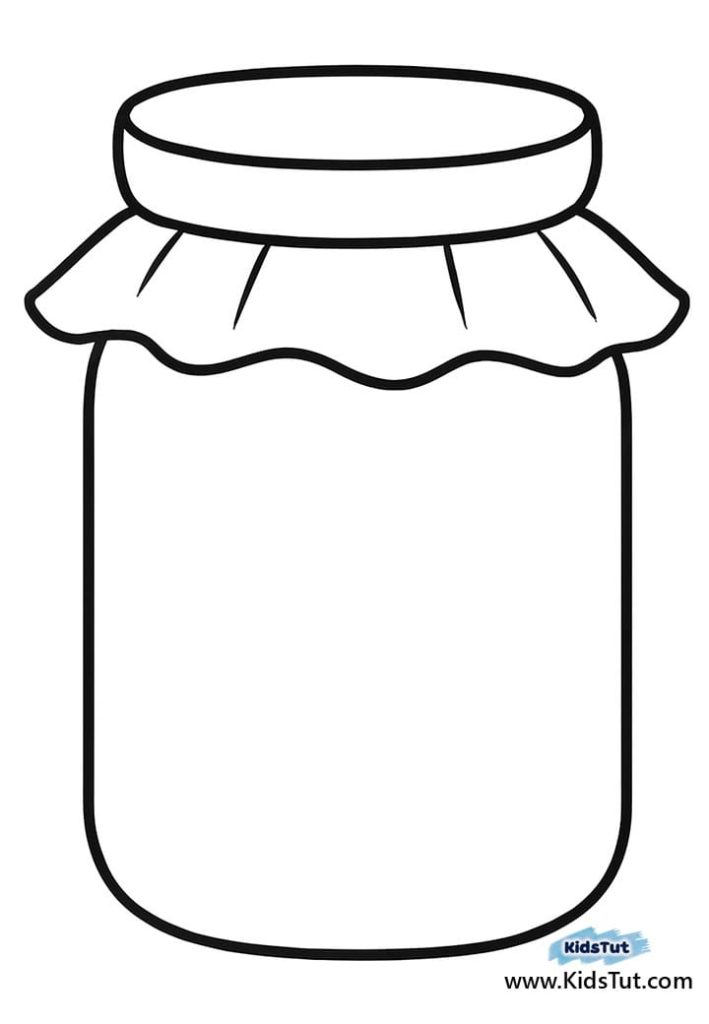
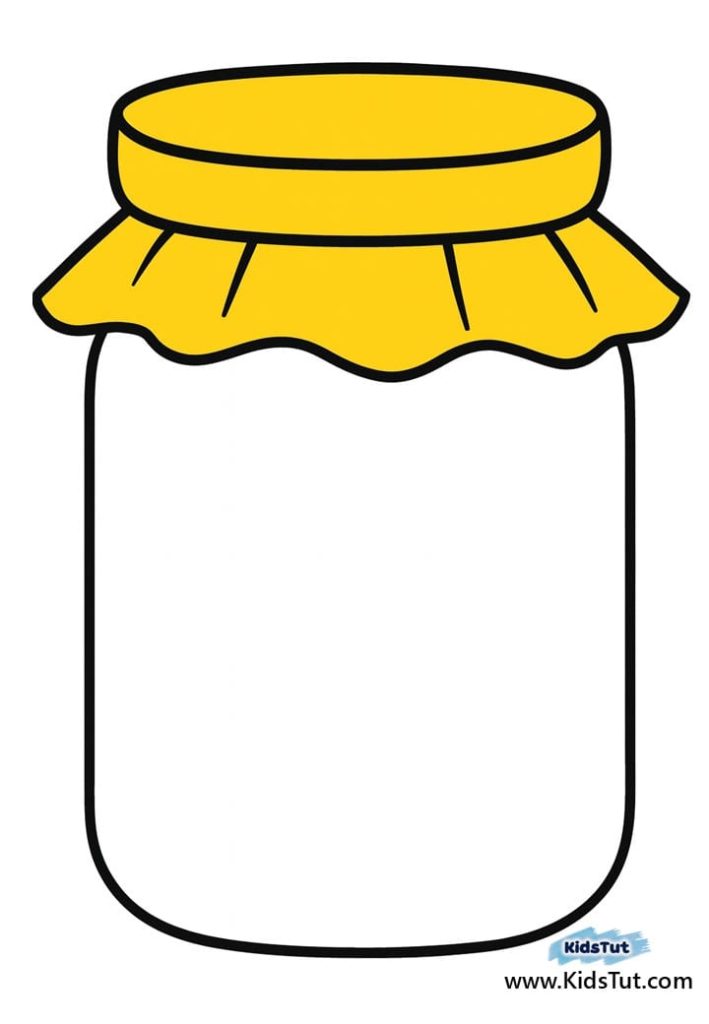
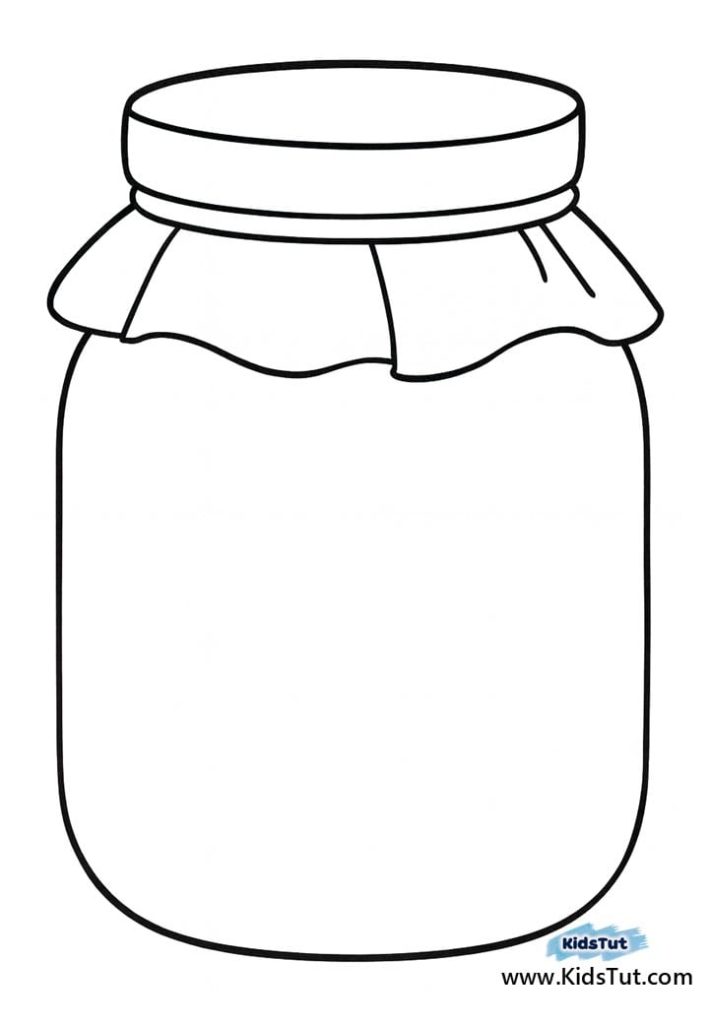
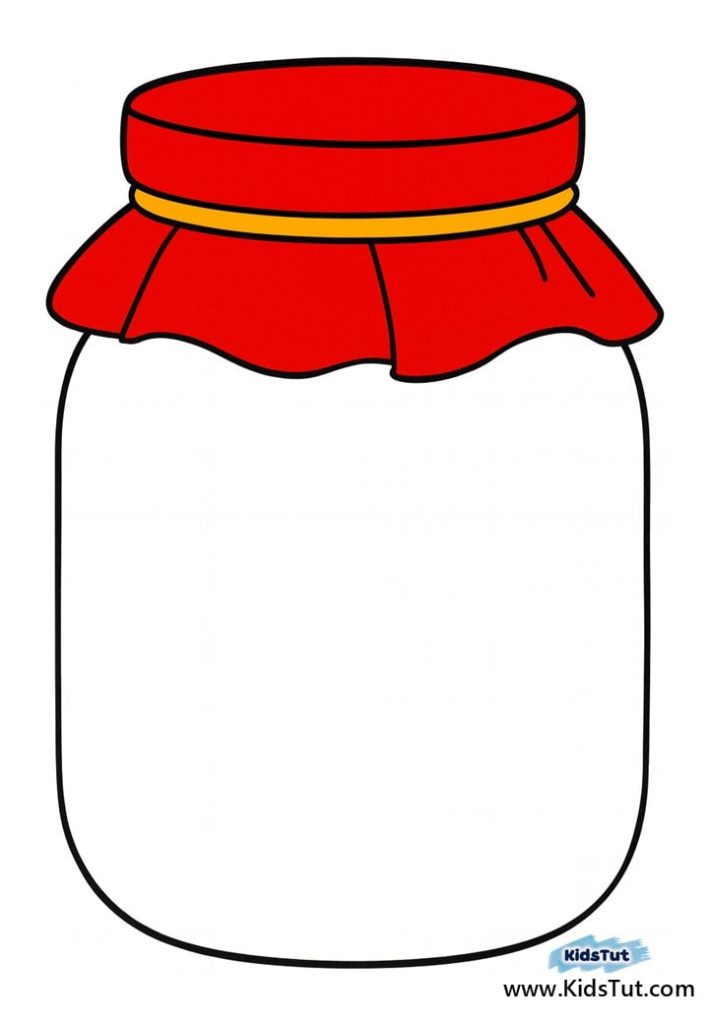
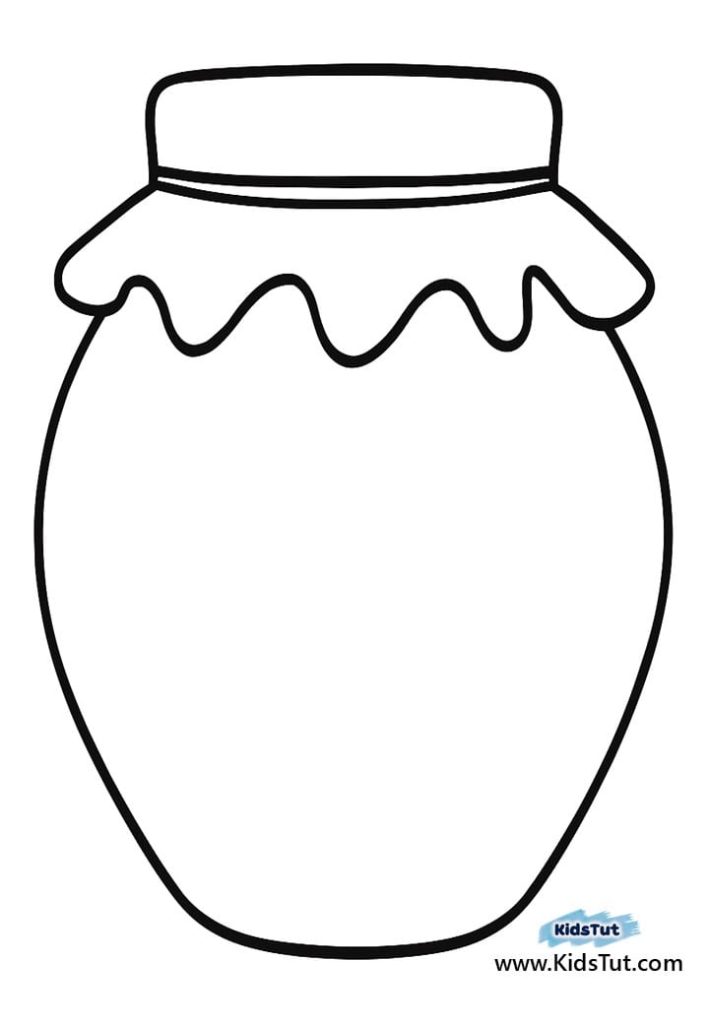
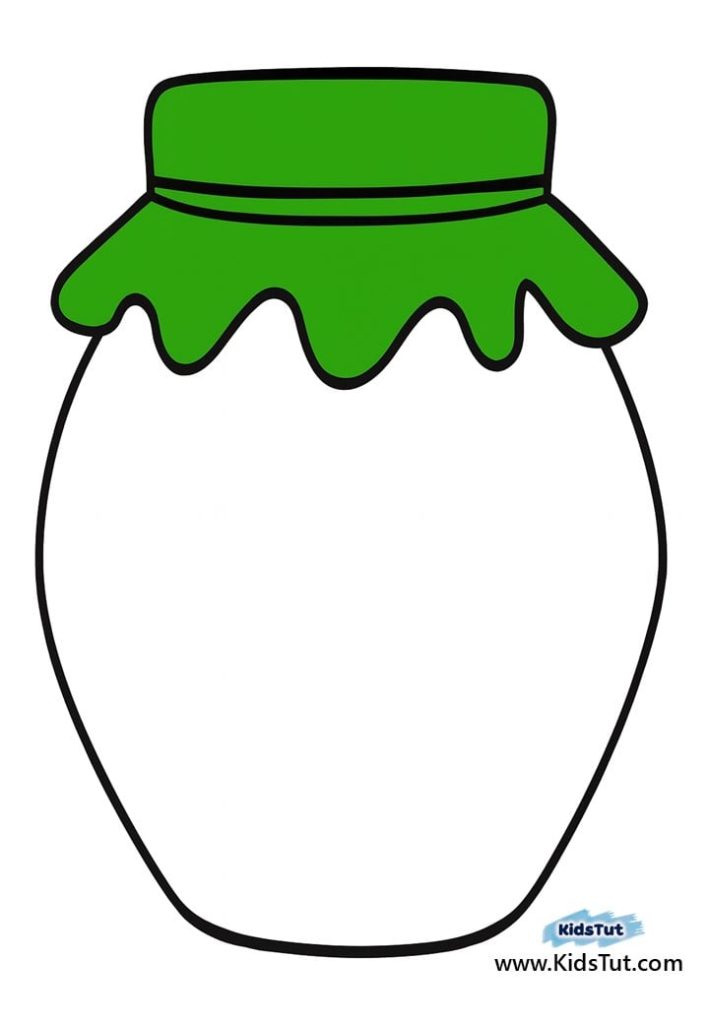
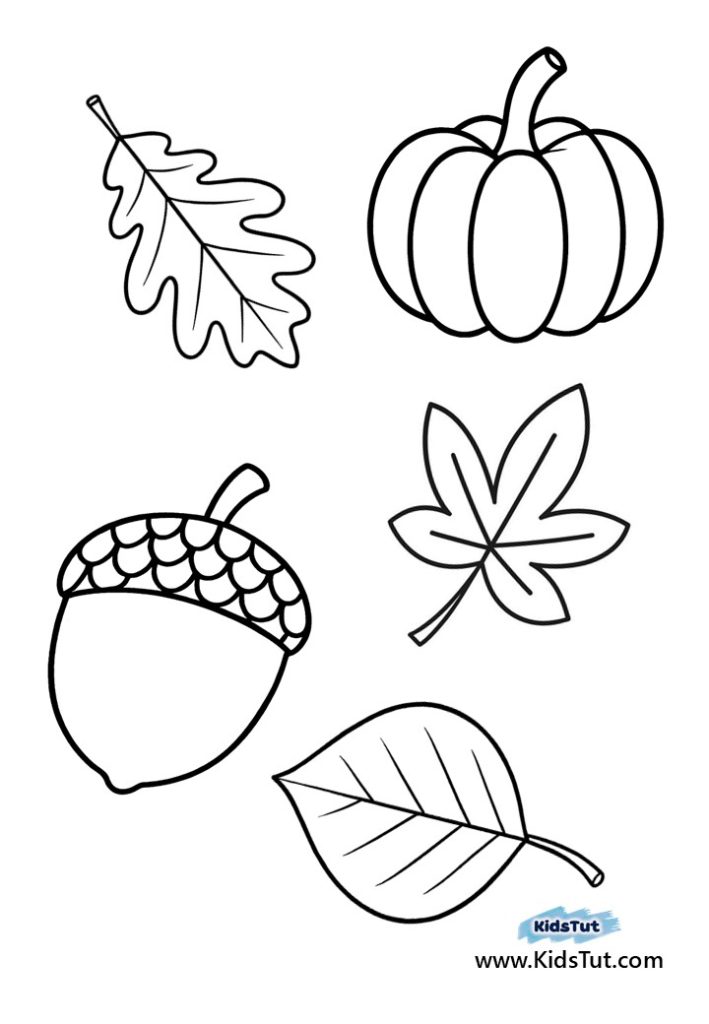
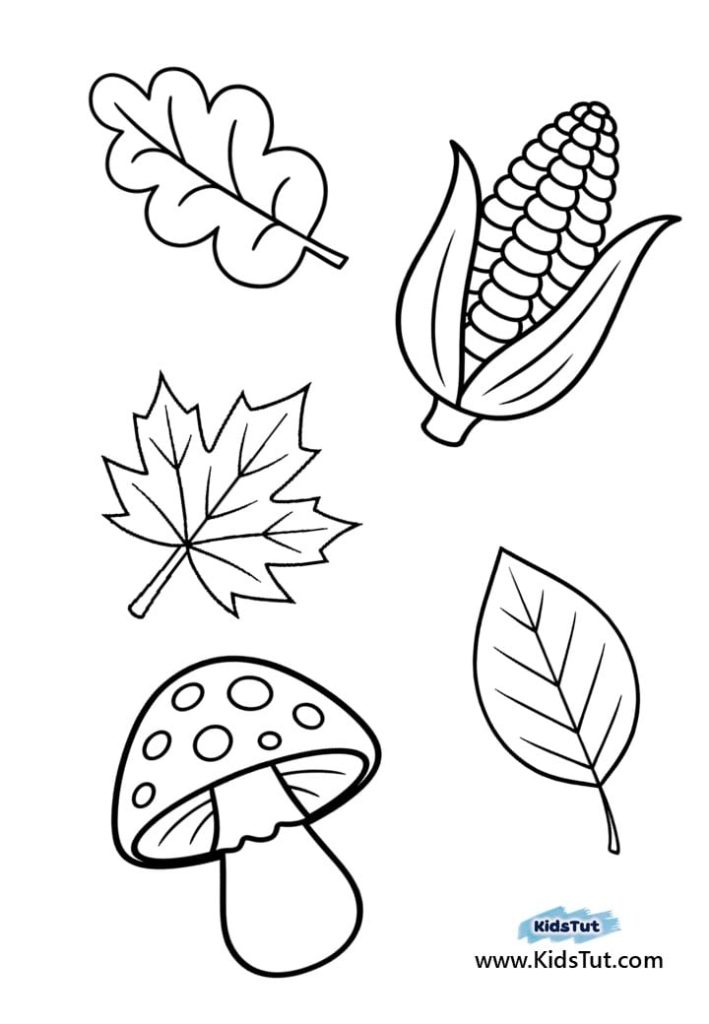
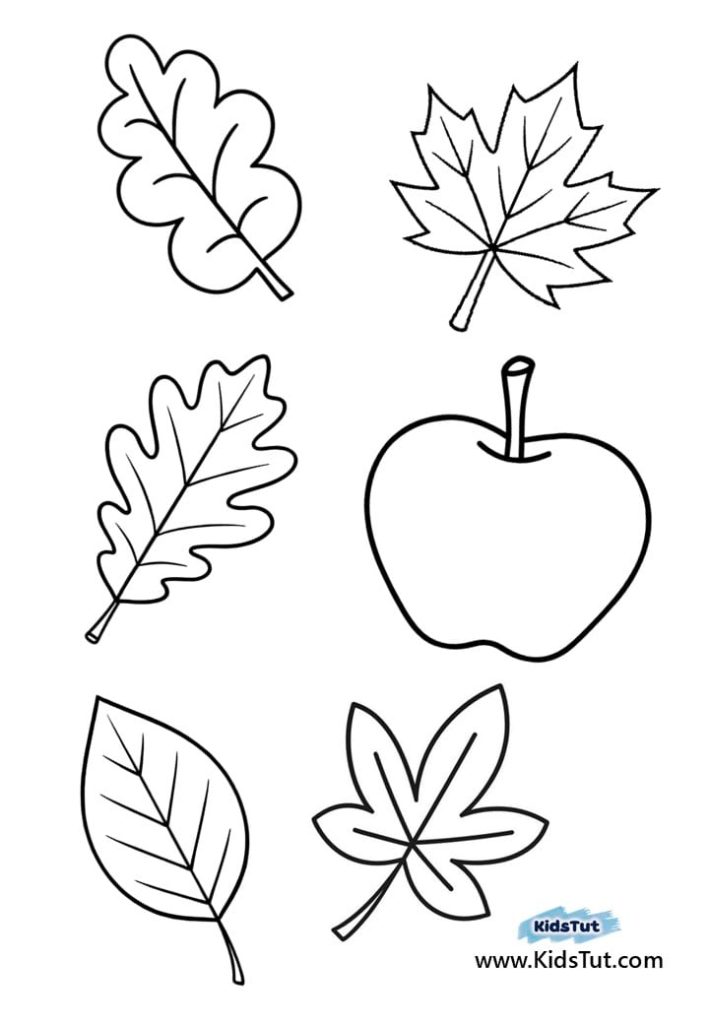
What You’ll Need
Before anything else, grab the things that we need to succeed in this Activity. Since this is a simple activity from Easy Fall Crafts, what we need is:
- Our free printable templates: mason jars, fall leaves, vegetables, and fruits
- Crayons, colored pencils, or markers
- Safety scissors
- Glue stick or liquid glue
- Optional: glitter, stickers, or ribbon for extra flair
Step-by-Step Instructions
Through these Easy Fall Crafts, kids learn to be creative and imaginative while exploring the beauty of autumn. In addition, they improve their fine motor skills, nature awareness, teamwork, and sharing abilities. Overall, it’s a fun and meaningful way to learn and grow through hands-on creativity
1. Download and Print the Templates
Before anything, download the templates we have given from Easy Falls Crafts. As in the templates, you can see jugs, Fall items. Print them.

Click here to get the free PDF template: Download
2. Color the Fall Items
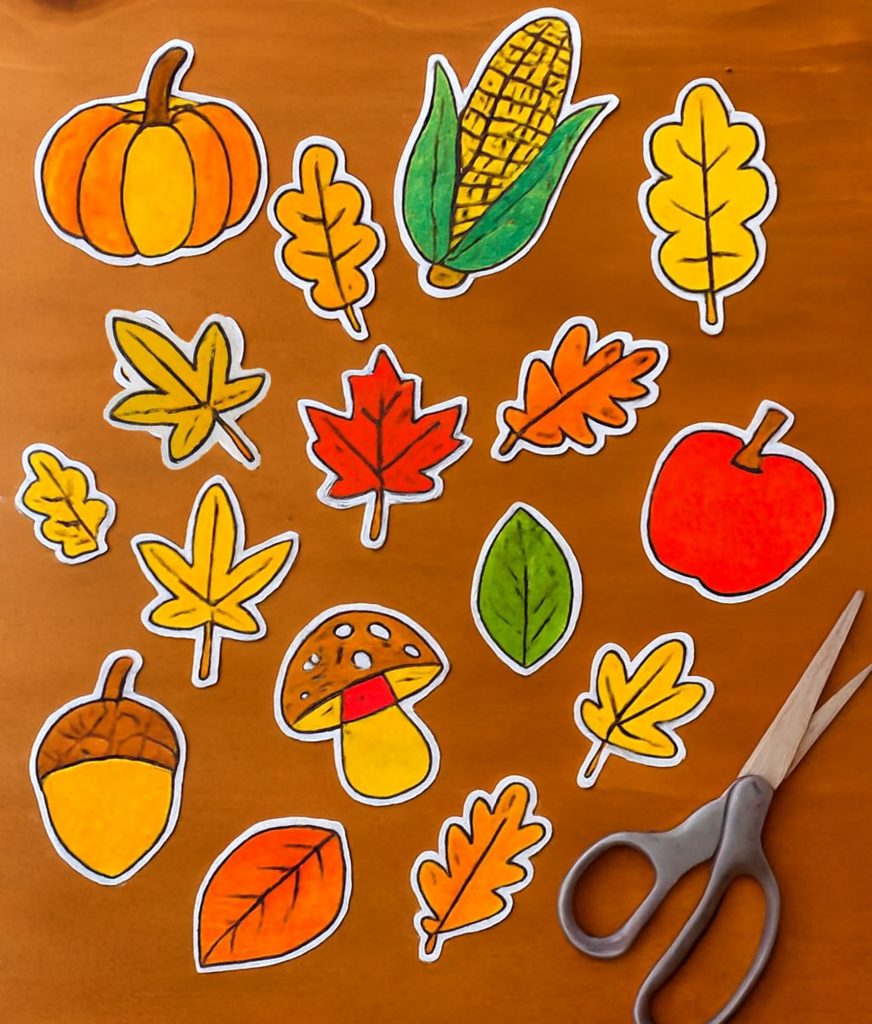
After that, let the kids color the fall items. Most importantly, encourage them to use their own creativity and imagination when choosing colors. In addition, ask them to match colors that reflect the warm and cozy vibe of autumn. Furthermore, coloring and matching shades will enhance their creativity, imagination, and color recognition skills.

Overall, we are introducing Easy Fall crafts not only as a fun and engaging activity but also as a meaningful experience that helps children develop their basic artistic and cognitive skills.
3. Cut Out the Pieces
When everything is colored perfectly next step is to cut out the pieces. Motivate kids to cut the images carefully. For example, “who’s ready to show their careful cutting skills?”
On the other hand, letting kids cut images develops skills such as Concentration and focus through this Easy Falls Craft. Although cutting with little hands can be risky, keep them listening and talking with you. This helps develop important skills such as focus, listening, hand-eye coordination, and fine motor control.
4. Decorate the Jar
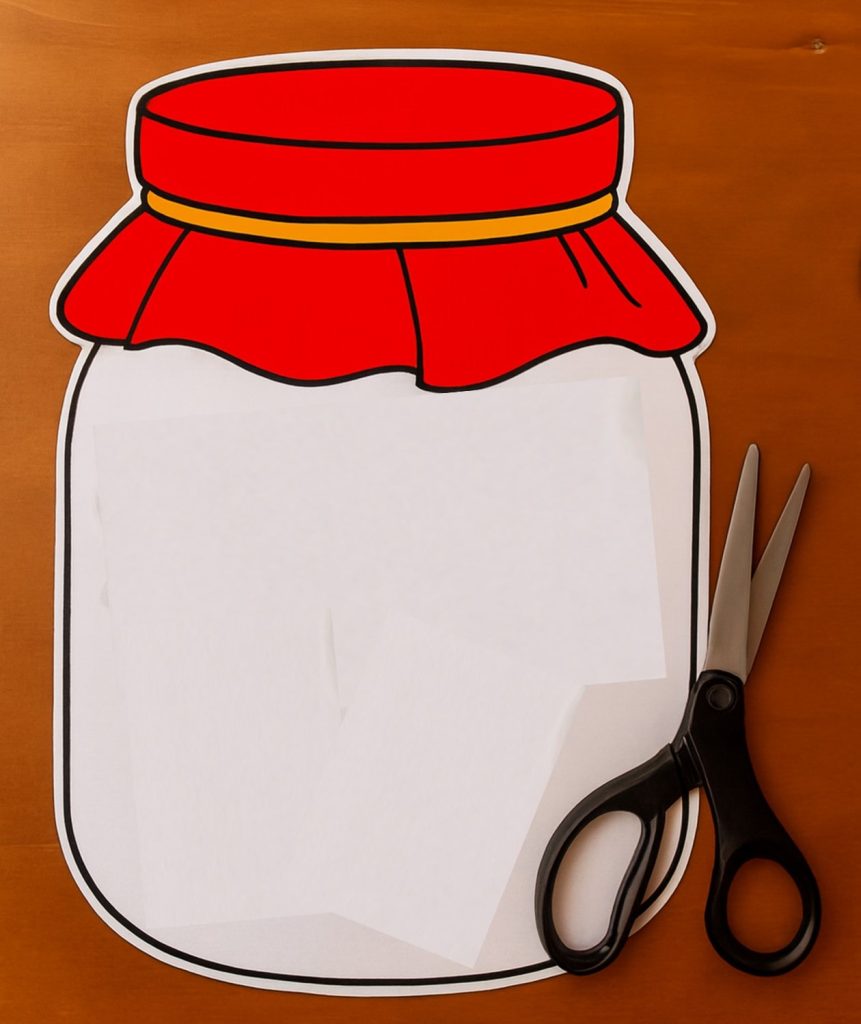
Now it’s time to start the magic. Decorating the Easy Fall Crafts jar is the most exciting and fun part of these Easy Fall crafts.
Using glue, paste those colored images on the jar. There, we do not have any structure or any rules. In other words, be free !! Let them create their own beautiful jar.
Meanwhile, discuss what is their favorite fall item?

5. Add Personal Touches
Do you want to make your Easy Falls Crafts extra special? Firstly, sprinkle a bit of glitter on the colors of leaves to make them sparkle, tie a bright ribbon around the jar lid, or write the child’s name and the date at the bottom. You can even add small stickers or paper cutouts for more charm. These little creative touches make each Autumn jar truly unique and personal!!
In addition, avoid making the children feel stressed or pressured about completing their crafts. Encourage a relaxed, happy atmosphere instead of turning it into a competition among friends.
Meanwhile, motivate them to be kind and supportive by helping classmates who might need guidance, ideas, or an extra hand with their craft.
Easy Fall Crafts Jar Activity: Classroom Ideas
Teachers, these Easy Fall crafts fit perfectly into your fall lesson plans and bring a splash of creativity to your classroom! Here are some fun and educational ways to use it:
- Art Center project: First, set up a cozy crafting station with printed templates, crayons, scissors, and glue. Let students explore their creativity as they design their own autumn jar
- Nature Talk Starter: Use this activity to introduce fall-themed vocabulary, such as acorn, harvest, maple, and pumpkin. It’s a great way to spark curiosity about the changes we see in nature during autumn.
- Bulletin Board Display: Showcase the finished jars on a classroom wall or bulletin board to create a bright and colorful fall collage. It illustrates seasonal charm and makes kids proud to see their art displayed.
- Story Time Companion: Pair the craft with a cozy fall-themed storybook about leaves, pumpkins, or apples. This helps children connect art with storytelling and imagination.
Furthermore, ask them to create this jar again with their favorite items.
🧡 Easy Fall Crafts Jar Activity: Tips for Success
To make Easy Fall Crafts smooth, fun, and full of creativity, keep these helpful tips in mind:
- Pre-cut for younger kids:
Firstly, if you’re working with preschoolers or little hands, pre-cut the fall items to save time and avoid frustration.
- Use thick paper:
Next, print the templates on cardstock or heavier paper so the jars stay sturdy and last longer, perfect for a little masterpiece that needs a bit of durability.
- Offer color choices:
Additionally, encourage kids to think outside the box! why stick to orange pumpkins or red leaves? Purple pumpkins, blue apples. Let imagination run wild!
- Celebrate each jar:
Finally, show off their hard work! Take photos, display jars in the classroom, share on social media, or send them home with a note of praise. Every Jar is a little treasure worth celebrating.
More Fall jar activities for kids:
Easy Fall Crafts for Kids: Sorting Jars Activity – Visit
Fall Mason Jar Craft: Easy Autumn Decor for Kids – Visit
